India Visa Photo Size and Data Requirements: Checked Against the Official Source
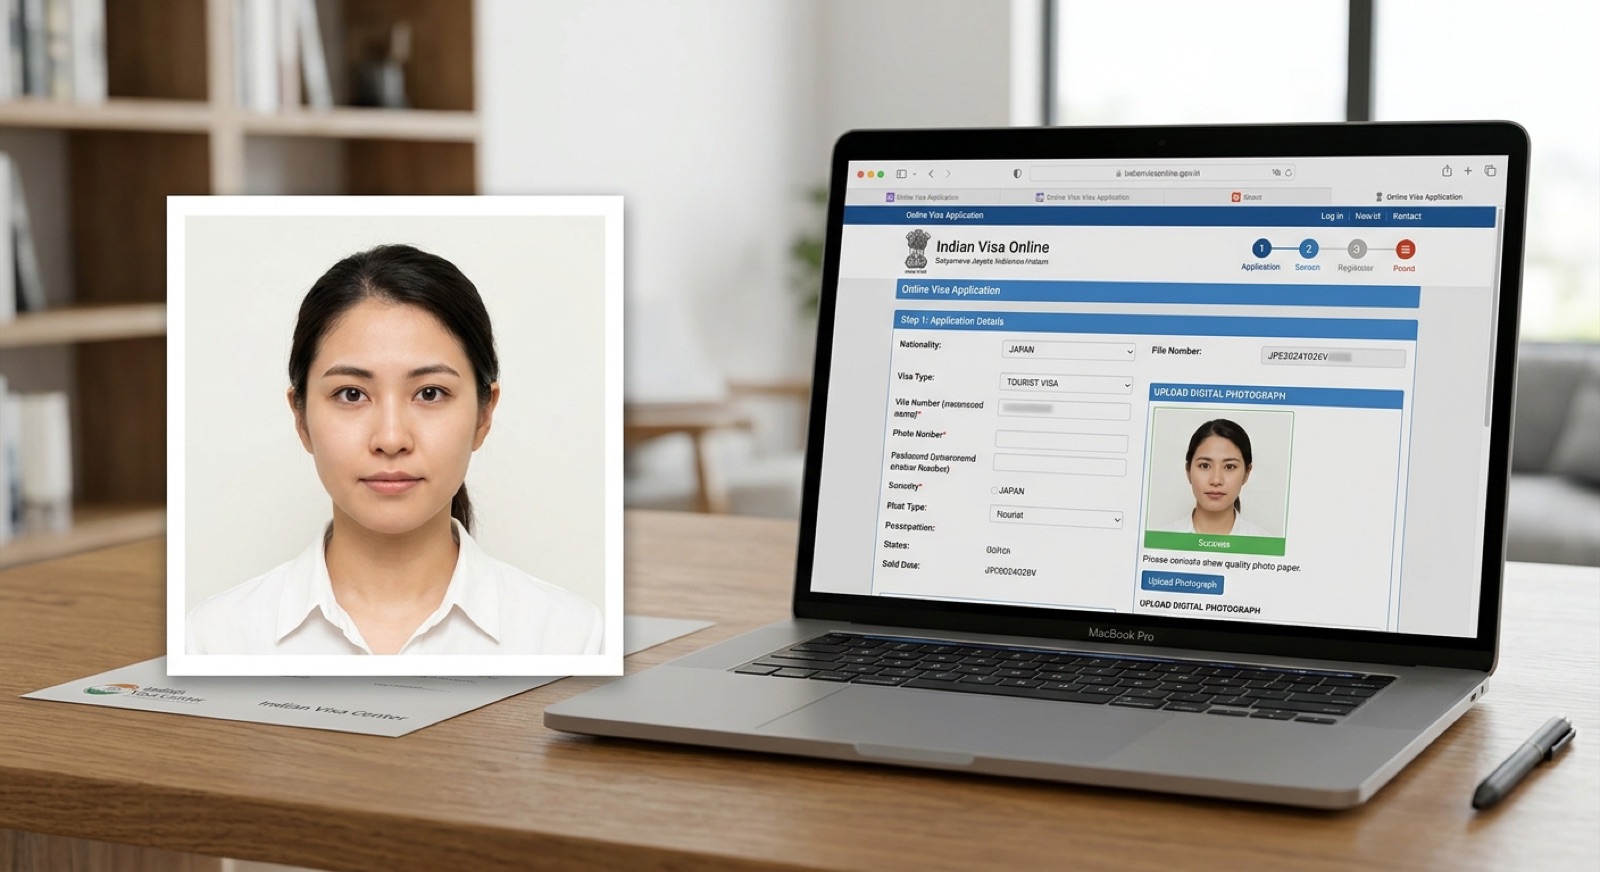
To apply for an Indian visa online, you need a photo file that is a JPEG, between 10KB and 300KB, and square. The image size must be between 350×350 and 1000×1000 pixels.
These requirements come from the official PDF "Online Visa Photo Upload Process" on the Indian government's online visa application website (as of November 2026).
This article puts the requirements we could confirm from the official source into a table. It also explains how to prepare the photo file and how to fix it when the upload doesn't work.
Walking distance from Shinjuku Station2 min from Shinjuku-gyoemmae Station Need it done fast & easy?Same-day booking OKSame-day pickup OK
 Book Now
Contents
- 5 officially confirmed requirements for Indian visa photos
- 4 steps to prepare your photo file for an Indian visa
- How to fix a file whose size or dimensions don't fit
- Check the official site for e-Visa photo requirements
- Check face size and background color on the official page
- Where to get your photo taken: pros of a studio, a photo booth and a smartphone
- Summary: Indian visa photos are JPEG, square, and 10–300KB
5 officially confirmed requirements for Indian visa photos
The table below shows what we could confirm in the official PDF. The big difference from the vertical ID photos commonly used in Japan is that the photo must be a square, with equal height and width.
| Item | Requirement |
|---|---|
| File format | JPEG |
| File size | 10KB minimum, 300KB maximum |
| Shape | Equal height and width (square) |
| Dimensions (pixels) | Minimum 350×350, maximum 1000×1000 |
| How to prepare the photo | Take it with a digital camera, or scan a printed photo |
A pixel is one of the tiny dots that make up an image. For example, a "600×600 pixel" image is a square with 600 dots across and 600 dots down.
The source is the official PDF on the Indian government's online visa application website (indianvisaonline.gov.in). Requirements can change, so please check the latest information before you apply.
4 steps to prepare your photo file for an Indian visa
You can prepare the photo file in the following four steps. If you go all the way to checking the file size at the end, you are less likely to run into trouble when uploading.
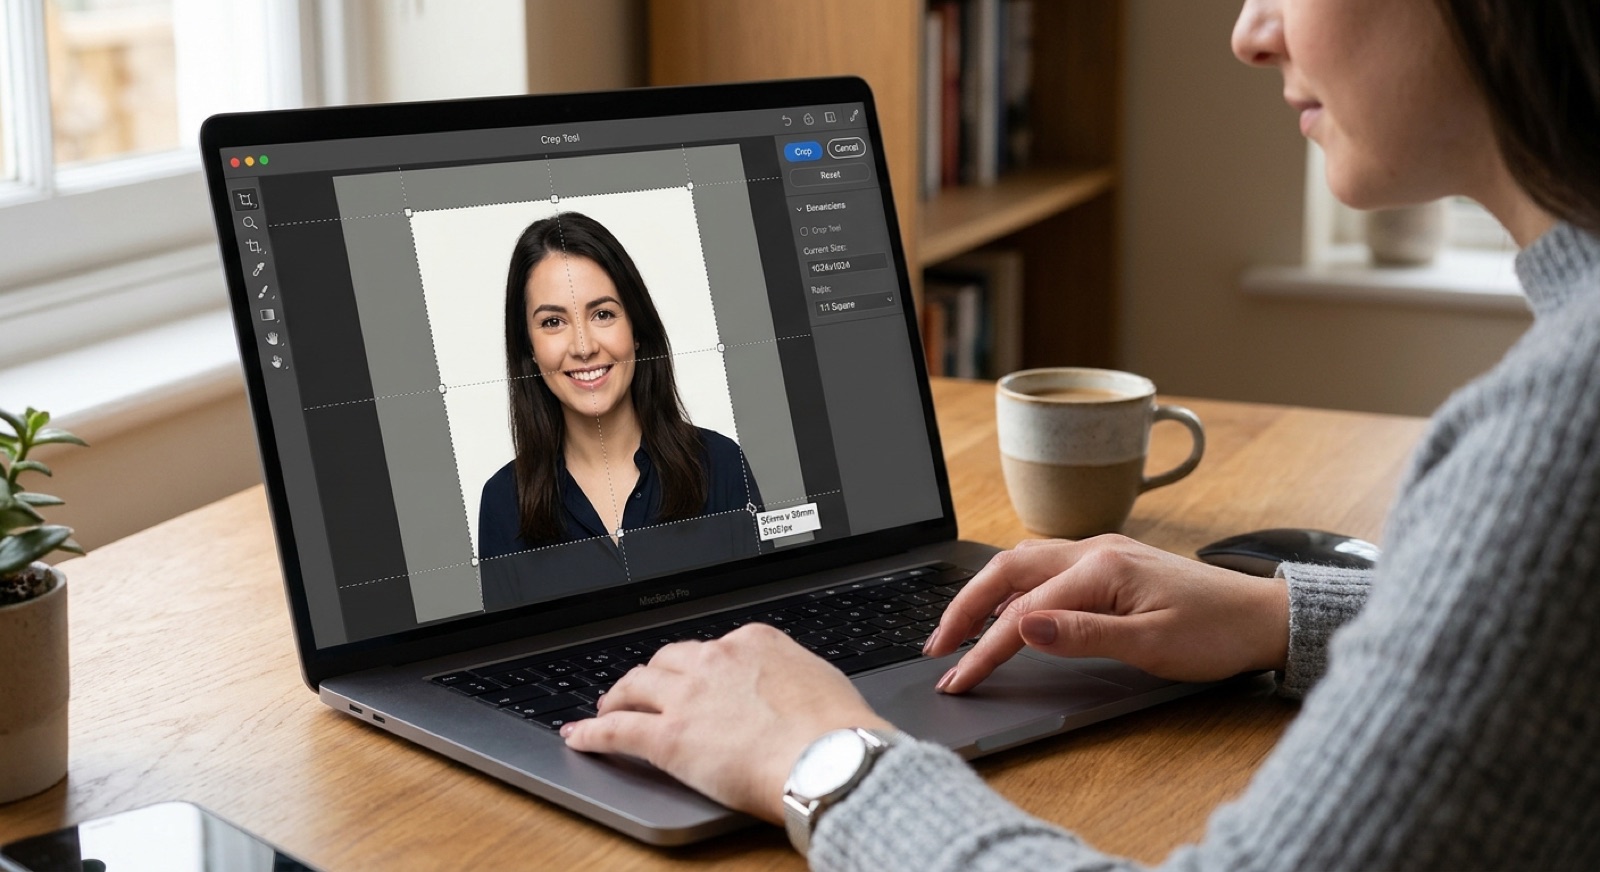
- Prepare the photo: Take it with a digital camera, or scan a printed photo.
- Crop it into a square: Crop so that the height and width are the same length.
- Adjust the dimensions: Keep it between 350×350 and 1000×1000 pixels.
- Save as JPEG and check the file size: Confirm that it is between 10KB and 300KB.
Most photos taken in Japanese ID photo booths are vertical (portrait-shaped). They won't fit the required shape as they are, so crop them into a square before using them.
How to fix a file whose size or dimensions don't fit

Most upload failures are caused by file size or file format. Here are three common cases and how to fix them.
When the file is over 300KB
First, try reducing the pixel count. Shrinking the image to within 1000×1000 pixels will also make the file size smaller.
If the file is still too large, lower the image quality a little when saving as JPEG. If you lower it too much, the face will look blurry, so the trick is to adjust it little by little.
When the file is under 10KB
The image may be too small, or you may have lowered the quality too much. Check that it is at least 350×350 pixels.
If the dimensions are large enough, raise the image quality and save the file again.
When a smartphone photo won't save as JPEG
iPhones may be set to save photos in a format called HEIC. A HEIC file does not meet the JPEG requirement.
If you go to Settings → Camera → Formats on your iPhone and choose "Most Compatible," photos will be saved as JPEG. For photos you have already taken, convert them to JPEG using an image conversion app or similar tool.
Check the official site for e-Visa photo requirements
India also has an electronic visa, the "e-Visa," which you apply for online. At the time of writing (November 2026), we have not been able to confirm photo requirements specific to the e-Visa in any official material.
If you are applying for an e-Visa, go to the e-Visa page from the Indian government's online visa application website and check the photo requirements there.
Search results may also show private websites that offer help with applications. Before you start entering any information, it is safer to check that the web address is the official one.
Check face size and background color on the official page

What we could confirm in the official PDF this time were five items: file format, file size, shape, pixel dimensions and how to prepare the photo. This article does not guess at things like face size or background color.
Before you apply, it is safer to check the following points on the official page.
- Face size and where the face should be positioned in the photo
- Background color
- How glasses, hats and similar items are handled
- How recently the photo must have been taken to be accepted
- Whether the requirements differ between the regular visa and the e-Visa
If anything is unclear, please follow the official guidance from the authority you are applying to.
Where to get your photo taken: pros of a studio, a photo booth and a smartphone
Where to take the photo is a matter of opinion. Below are the advantages of each option and the points to watch out for.
| Where to shoot | Advantages | Points to watch |
|---|---|---|
| Photo studio | They can shoot to the required specs. You can leave retouching and resizing to them | Takes time for booking and travel. Often costs more than a photo booth |
| ID photo booth | Found at stations and other places, so you can take a photo the moment you need one. Costs are easy to keep low | Photos are often vertical, so you may need to crop them into a square and adjust the file size yourself |
| Smartphone | No cost, and you can retake as many times as you like | You have to set up the background and lighting, and adjust the format, shape and file size yourself |
The best place depends on whether you want to keep costs down or reduce hassle. Choose according to what matters most to you.
If you plan to use a photo booth, you can find nearby machines in our roundup of sites for finding ID photo booth locations. Tips for getting a good photo are summarized in 4 tips for taking a great photo in an ID photo booth.
Summary: Indian visa photos are JPEG, square, and 10–300KB
- The file format is JPEG
- The file size is 10KB to 300KB
- Square with equal height and width, between 350×350 and 1000×1000 pixels
- Prepare it by taking a photo with a digital camera or scanning a printed photo
- Check the official site for e-Visa requirements, face size and background color
The key point for an Indian visa photo is that, unlike Japanese ID photos, it must be square. Once your file is ready, check the shape and file size one more time before uploading.
For things to watch out for with visa photos for other countries as well, see What should you watch out for with ID photos for visas?.
- I love writing and I'm currently studying copywriting. I turn the questions our guests often ask and the things I notice in the studio into easy-to-read articles about job-hunting and ID photos, so that even first-timers can understand them.
 Walking distance from Shinjuku Station2 min from Shinjuku-gyoemmae Station19Studio Shinjuku — ID & Job-Hunting PhotosNeed it fast? No problemSame-day booking & same-day pickupCome empty-handed, shoot right awaySuit compositing option availableBook Now
Latest posts
 Passport, Visa & Other ID PhotosNovember 22, 2026India Visa Photo Size and Data Requirements: Checked Against the Official Source
 Passport, Visa & Other ID PhotosNovember 21, 2026[U.S. Visa] Photo Size, Requirements and How to Take One
 Passport, Visa & Other ID PhotosNovember 21, 2026Japan Driver's License Photo: Size, Requirements and Tips for Bringing Your Own