Can You Use a Smartphone Photo for a Japanese Passport? Standards, Tips & Printing by Application Type
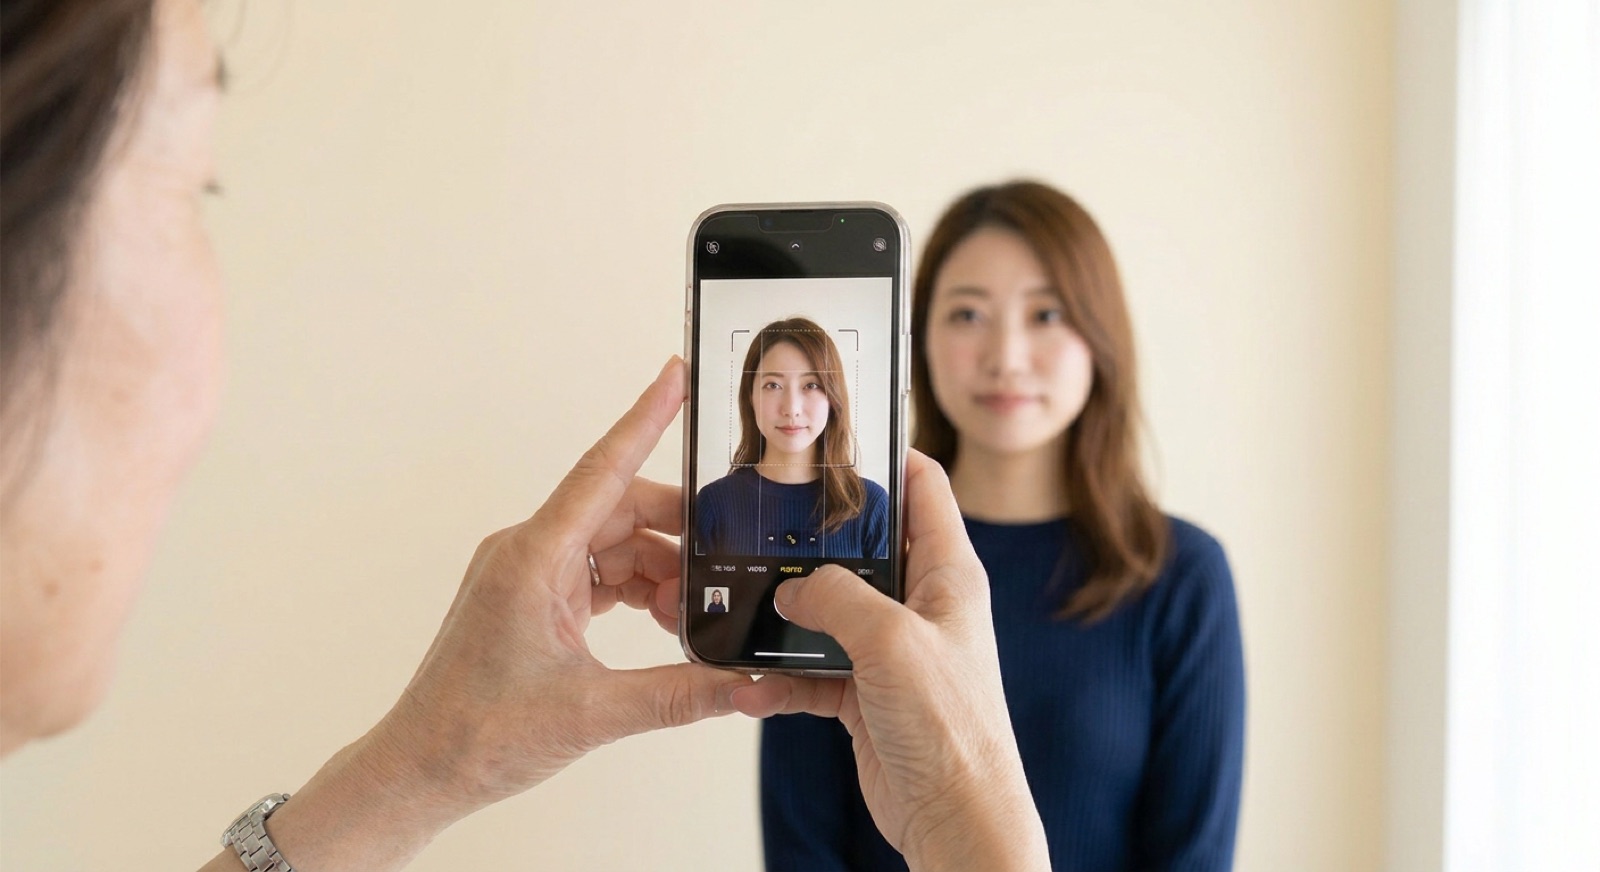
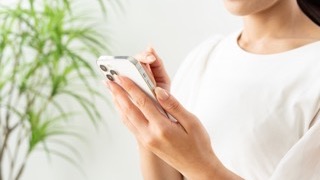
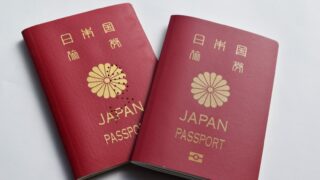
You can use a photo taken with your smartphone for a Japanese passport.
What matters is that the photo meets the standards for size, background, and so on set by Japan's Ministry of Foreign Affairs.
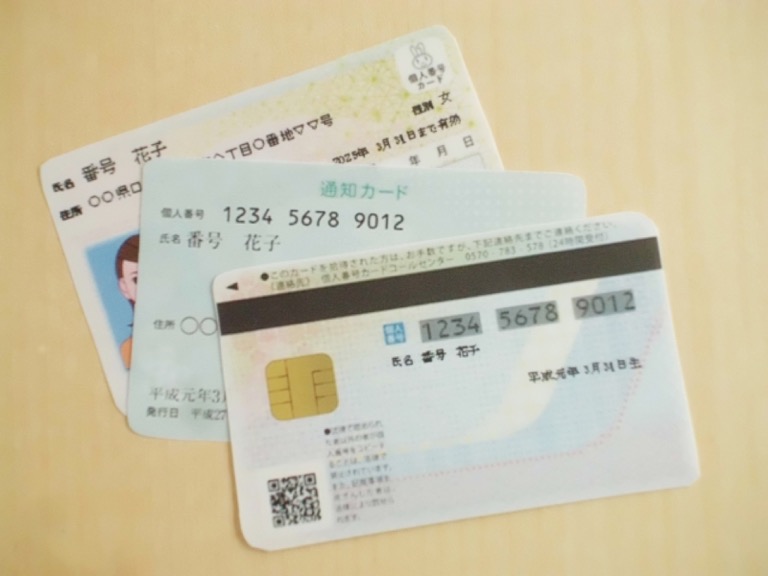
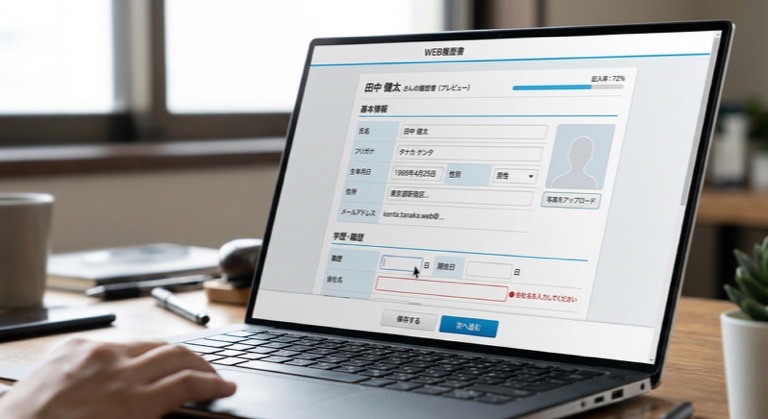
If you apply online through Myna Portal (Japan's government online services site), you can upload the photo as digital data.
If you apply in person at a passport office, you need to submit a printed photo. This article walks you through the standards, how to take the photo, and how to print it.
 Need it done fast & easy?Same-day booking OKSame-day pickup OK
 Book Now
Contents
- The short answer: a smartphone photo works for a passport
- Passport photo standards (size, face size, background)
- How to submit a smartphone photo, by application type
- Step by step: taking a passport photo with your phone
- Tips for a clean shot (light, background, camera)
- Common reasons for retakes and how to avoid them
- For in-person applications: printing at a convenience store
- Smartphone vs. photo booth vs. photo studio
- Frequently asked questions about passport photos and smartphones
- Summary: check the standards first, then shoot with your phone
The short answer: a smartphone photo works for a passport
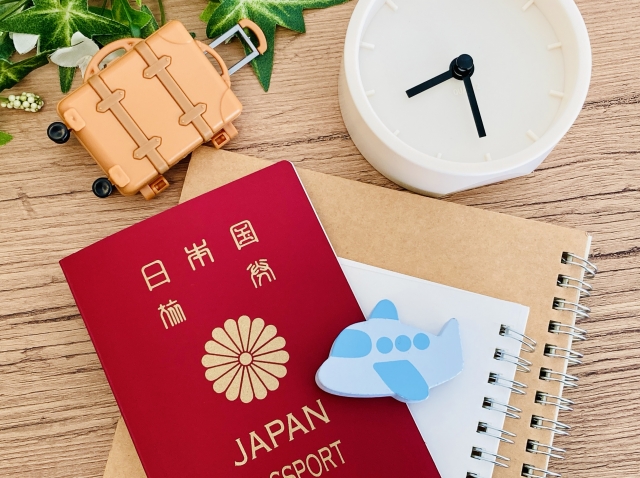
Your passport photo does not have to be taken at a photo studio or in an ID photo booth.
A photo taken with your smartphone is fine as long as it meets the standards.
However, how you submit the photo depends on how you apply.
For online applications you submit digital data, and for in-person applications you submit a printed photo.
In either case, a photo that does not meet the standards may be rejected and you may be asked to retake it.
Before you start shooting, take a moment to read the standards in the next section.
Passport photo standards (size, face size, background)
Here are the main passport photo standards in one table.
The two items people most often get wrong are face size and background.
| Item | Requirement |
|---|---|
| Photo size | 45mm tall × 35mm wide |
| Face size | 34mm (±2mm) from the top of the head to the chin |
| Space above the head | 4mm (±2mm) |
| When it was taken | Within 6 months of the application date |
| Background | Plain, with no patterns or shadows |
| Face direction | Facing straight ahead, no hat |
| Expression | Natural expression with the mouth closed |
*This is based on the guidance from the Ministry of Foreign Affairs as of November 2026.
The standards may change, so before you apply, please also check the Ministry's page on passport application photo standards.
How to submit a smartphone photo, by application type
How you use your smartphone photo depends on whether you apply online or in person.
Decide first which method you will use, and the preparation goes more smoothly.
| Online application | In-person application | |
|---|---|---|
| Where you apply | Myna Portal (on your smartphone) | Prefectural passport office |
| How you submit the photo | Register the photo data on screen | Submit a printed photo |
| Printing | Not needed | Required (45mm × 35mm) |
| Best for | People with a My Number Card (Japan's national ID card) who want to finish the process at home | People who are not eligible for online application, or who want to ask questions at the counter |
Online application can be used for things like renewing a passport that is close to expiring.
For new applications and other eligibility conditions, please check the guidance from the Ministry of Foreign Affairs and Myna Portal.
Step by step: taking a passport photo with your phone
When you shoot with a smartphone, we recommend having someone else take the photo instead of taking a selfie.
Selfies put the camera close to your face, so the image is easily distorted or tilted.
What you need
- A smartphone (use the rear camera)
- A plain wall or sheet, such as white or light gray
- Someone to take the photo (or a tripod and the self-timer if you are alone)
- A bright room (next to a window during the day is ideal)
5 steps to take the photo
- Stand in front of a plain wall, about 50cm away from it (this helps keep shadows off the background)
- The photographer stands about 1 to 1.5m away and holds the camera at eye level
- Tidy your hair so your eyebrows and eyes are visible
- Look straight ahead with your mouth closed and take the photo
- Take several shots, then choose one after checking for shadows, tilt, and focus
Tips for a clean shot (light, background, camera)
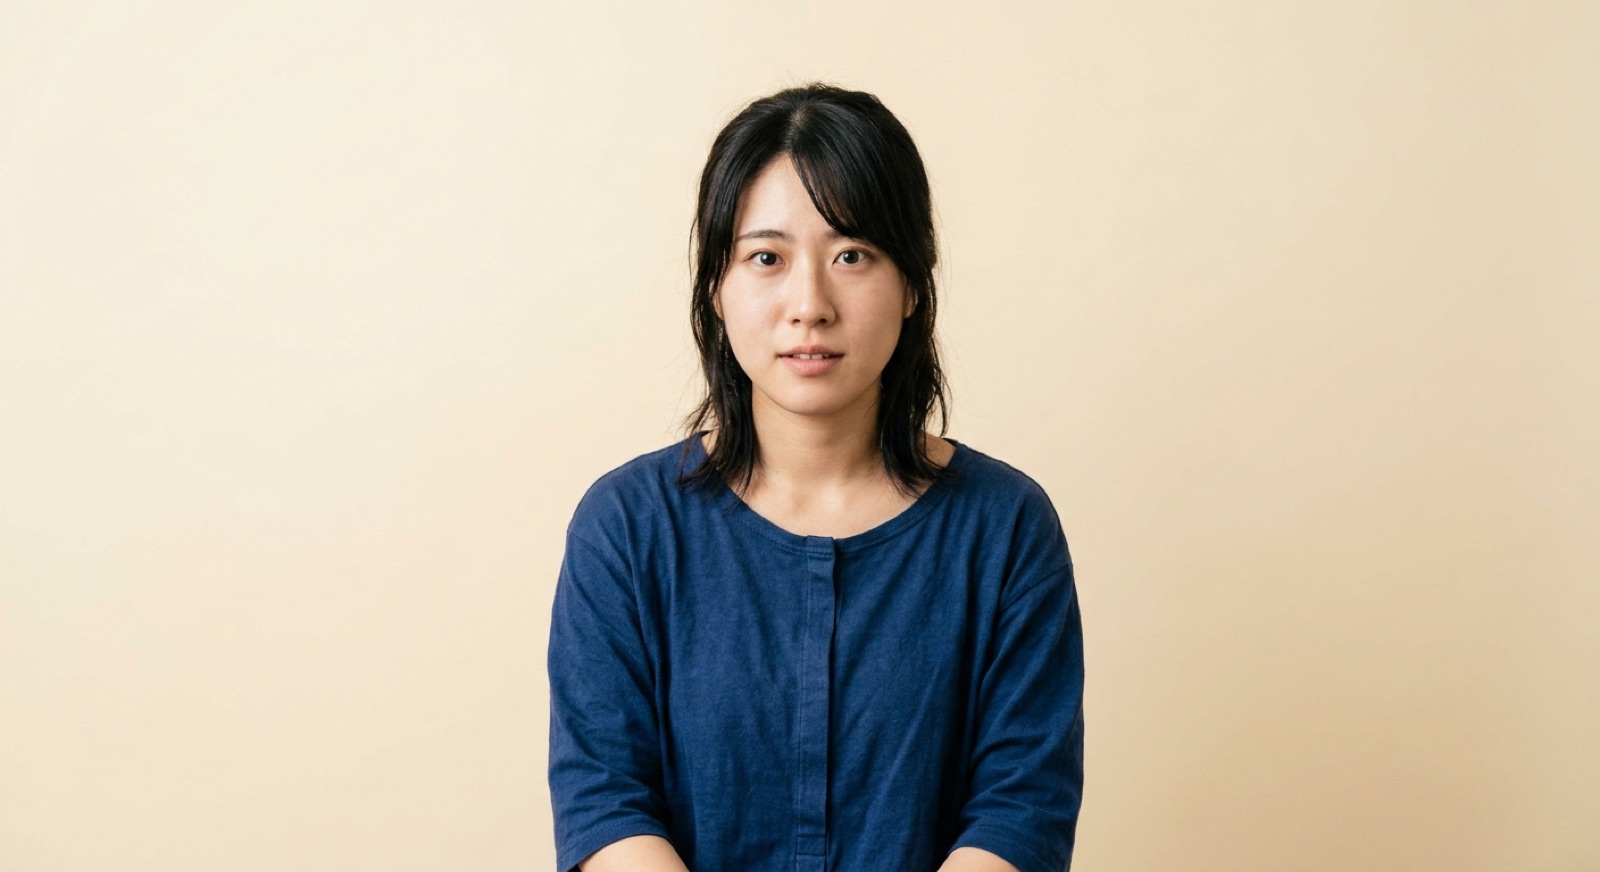
Beyond meeting the standards, you probably want the photo to look good too. Lighting makes the biggest difference in how your photo turns out.
Light: bright and from the front
If you only use ceiling lights, shadows form under your eyes and nose. Facing a window during the day lights your whole face evenly.
If the sunlight is too strong, shoot through a sheer curtain to soften it.
Background: plain, and not the same color as your clothes
Choose a plain background such as white or light gray. If you wear white against a white background, the line of your shoulders can look blurry.
In that case, change into darker clothes and your outline will stand out clearly.
Camera: turn off retouching and beauty modes
Do not use skin-smoothing, filters, or other effects, because they interfere with identity verification. Turn off any retouching features in your camera app settings.
Use only a little zoom, and check that your face is in focus.
Common reasons for retakes and how to avoid them
Here are the points where applicants are most often asked to retake their photos. After shooting, check your photo against this table to be safe.
| Common problem | What to do |
|---|---|
| Shadows on the face or background | Light your face from the front and stand a little away from the wall |
| Head tilted or not facing forward | Tuck your chin in slightly and hold the camera at eye level |
| Bangs cover the eyebrows or eyes | Part your bangs or pin them back |
| Glare on eyeglasses | Change the angle of your face slightly, or take your glasses off |
| Face too small or too large | Crop so the distance from head to chin is 34mm |
| Skin or face outline changed by a retouching app | Use a photo with no retouching |
For in-person applications: printing at a convenience store
If you apply at a counter, you need to print your smartphone photo and bring it with you. The multifunction copiers at convenience stores offer a service that prints in ID photo sizes.
- Crop the photo to 45mm × 35mm using an ID photo app or the convenience store's service
- At the multifunction copier, choose the ID photo print option and print
- Cut it straight along the border lines with scissors or a cutter
Supported sizes and prices differ by convenience store and service. Please check each company's website before you use it.
Smartphone vs. photo booth vs. photo studio
If you cannot get a good shot with your phone, there are other options. Choosing between convenience and quality makes the decision easier.
| Smartphone | ID photo booth | Photo studio | |
|---|---|---|---|
| Convenience | Shoot at home | Quick, at stations and other locations | Book and visit the studio |
| Quality | Depends on light and background | Consistent lighting | A professional adjusts the lighting and your posture |
| Standards check | You do it yourself | Follows the machine's settings | Staff check for you |
| Photo data | Already on your phone | Depends on the machine | Available at many studios |
If you keep seeing shadows or tilt no matter how many times you shoot, a studio is another option. 19Studio Shinjuku, a job-hunting photo studio, also takes passport photos.
It is a 2-minute walk from Shinjuku-gyoenmae Station, and same-day booking is available. A session takes as little as about 30 minutes, and you receive your data by LINE or email. You can check available times on the 19Studio booking page.
Frequently asked questions about passport photos and smartphones
Q. Is a selfie okay?
It can be used if it meets the standards. However, at arm's length your face is easily distorted, so we recommend using a tripod and the self-timer and shooting from a bit farther away.
Q. Does the background have to be white?
It does not have to be white as long as it is plain. A color that contrasts clearly with your face, such as light gray or pale blue, makes your face easier to see.
Q. Can I reuse a photo I took earlier?
A passport photo must have been taken within 6 months of the application date. Older photos cannot be used, so please take a new one.
Q. Can I take a photo of a baby or child with my phone?
Yes. A common method for babies is to lay them on a white sheet and shoot from directly above. Choose a shot where their eyes are open and they are facing forward.
Summary: check the standards first, then shoot with your phone
- A passport photo can be taken with a smartphone as long as it meets the standards
- Online applications use the digital data as is; in-person applications require a print at 45mm × 35mm
- Three keys to a clean shot: light from the front, a plain background, and no retouching
- After shooting, check for shadows, tilt, and face size
If shooting with your phone is difficult, you can also use an ID photo booth or a photo studio. Choose the method that suits you and prepare with time to spare.
- I love writing and I'm currently studying copywriting. I turn the questions our guests often ask and the things I notice in the studio into easy-to-read articles about job-hunting and ID photos, so that even first-timers can understand them.
 Walking distance from Shinjuku Station2 min from Shinjuku-gyoemmae Station19Studio Shinjuku — ID & Job-Hunting PhotosNeed it fast? No problemSame-day booking & same-day pickupCome empty-handed, shoot right awaySuit compositing option availableBook Now
Latest posts
 Passport, Visa & Other ID PhotosNovember 19, 2026Can You Use a Smartphone Photo for a Japanese Passport? Standards, Tips & Printing by Application Type
 Passport, Visa & Other ID PhotosNovember 18, 2026My Number Card Photo Size, Rules and How to Take One (With Examples of What Not to Do)
 Passport, Visa & Other ID PhotosNovember 17, 2026Where to Get a Passport Photo in Japan: 4 Ways Compared, Plus Photo Requirements