Online Resume Photo Guide for Japan: Size, How to Take It & How to Insert It (Phone OK)
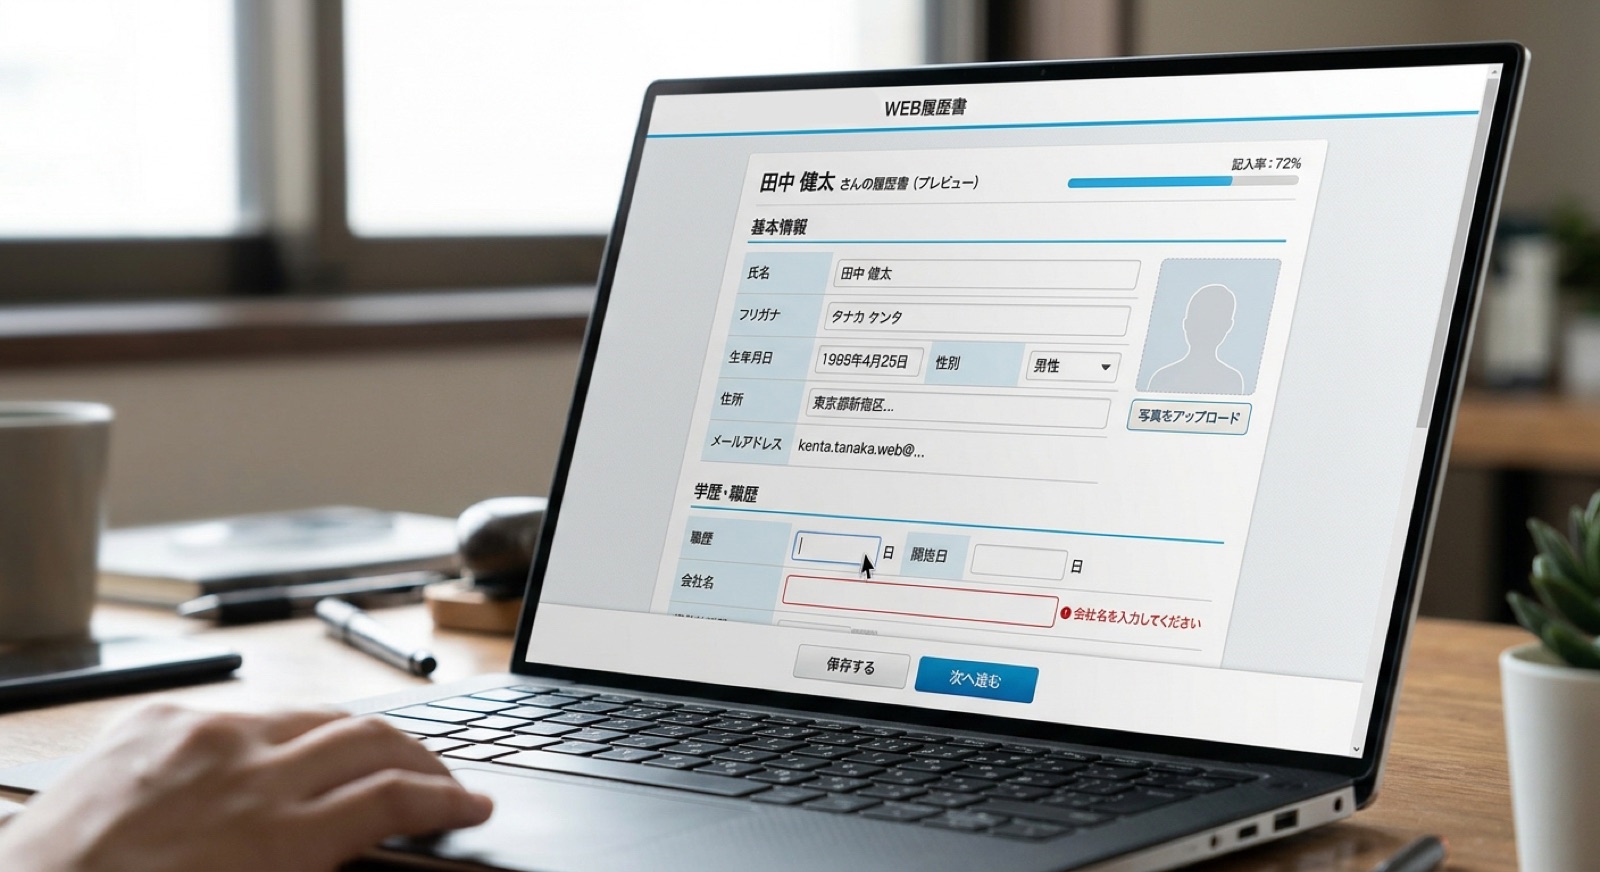
For an online resume in Japan, prepare your photo as a JPEG file with a 4:3 (height:width) ratio, then match the size and file size the employer asks for.
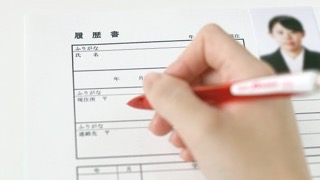
The rules for how the photo should look are the same as for a paper resume (rirekisho, the standard Japanese-format resume). Use a photo taken within the last 3 months, facing the camera, showing your head and chest, against a plain background.
This article explains, step by step, how to make the file, how to take the photo with your phone, and how to insert it into Word, PDF and application sites.
Walking distance from Shinjuku Station2 min from Shinjuku-gyoemmae Station Need it done fast & easy?Same-day booking OKSame-day pickup OK
 Book Now
Contents
- What is an online resume photo? How it differs from a paper resume
- Online resume photo: recommended size, format and file size
- Rules for how your photo should look
- 3 ways to get your photo ready
- Tips for taking a good photo with your phone
- How to insert your photo (Word, Excel, PDF and application sites)
- Common photo problems and how to fix them
- Online resume photo FAQ
- Summary: a 4:3 file and the employer's instructions are the key
What is an online resume photo? How it differs from a paper resume
An online resume is a resume you create on a computer or phone and submit as data. You either type it directly into an application site, or send a Word or PDF file.
The biggest difference from a paper resume is that you add the photo as an image file instead of gluing a print onto the page.
| Point | Paper resume | Online resume |
|---|---|---|
| Photo format | Printed photo | Image file (JPEG, etc.) |
| How to attach | Glue or double-sided tape | Insert into a file, or upload to a site |
| How size is set | 40 mm tall × 30 mm wide is standard | 4:3 height-to-width ratio is standard. Follow the employer's instructions for pixel size and file size |
| Photo requirements | Same for both: taken within 3 months, facing front, head and chest, plain background | |
Online resume photo: recommended size, format and file size
If the employer gives instructions, follow them first. That matters most. If there are none, the guidelines below make the file easy to work with.
| Item | Guideline | Note |
|---|---|---|
| Aspect ratio | 4:3 (height:width) | Same ratio as a paper resume photo (40 mm tall × 30 mm wide) |
| Pixel size | At least 472 px tall × 354 px wide | Large enough to print at 40 × 30 mm at 300 dpi (a common measure of print sharpness) |
| File format | JPEG (.jpg) | Some employers also accept PNG |
| File size | Within the employer's limit | You can't upload a file over the limit |
| File name | Example: 20261112_TaroYamada.jpg | Adding the date and your name makes the file easier for the recipient to manage |
Requirements differ by application site
Job-hunting sites, career-change sites and part-time job application forms each have their own size and file-size limits. They are often written near the upload screen, so check them first.
If you keep one larger file, it's easy to shrink it later. It's a good idea to save the original large file and not delete it.
Rules for how your photo should look
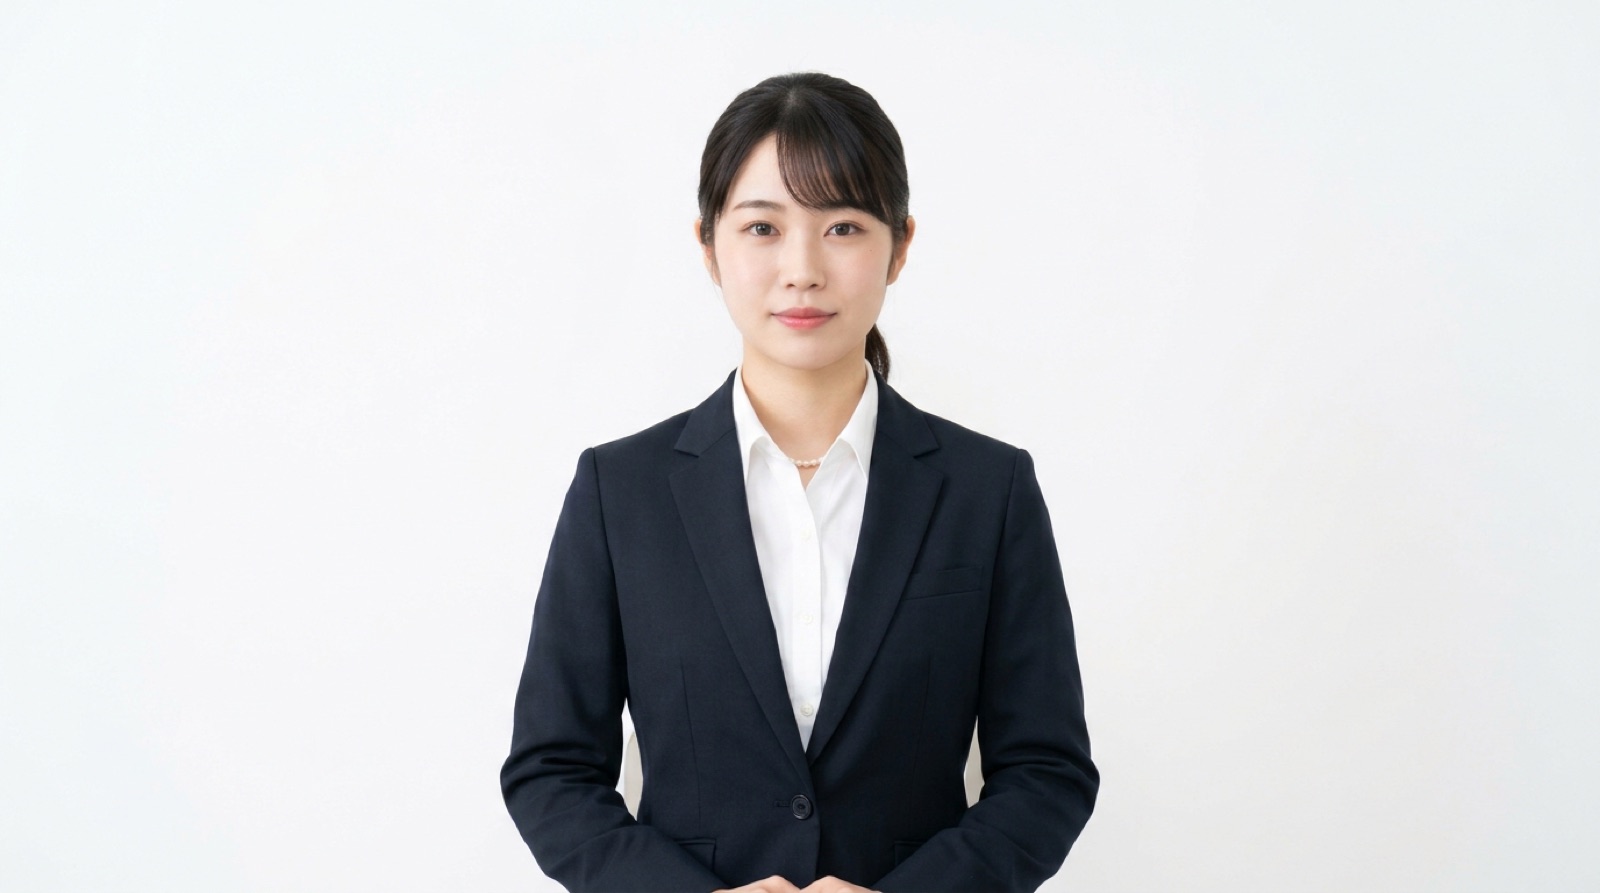
Even when you submit data, the photo requirements are the same as for a paper resume. If you follow these five points, you should be fine.
- Use a photo taken within the last 3 months
- Face the camera, with your head and chest in the frame
- Plain background: white, light blue or light gray
- No shadows on your face, and bright lighting
- No hair covering your eyes or face
Avoid snapshots that have been cropped, or photos with a room visible in the background. As a rule, use a photo taken as an ID photo.
Does the photo differ for job hunting, career changes and part-time jobs?
For job hunting (shukatsu, the process of applying for jobs before graduation) and career changes, a photo in a suit is the norm. For career changes, a calm look in a jacket is also often chosen.
For part-time jobs (arubaito), some employers accept neat casual clothes. If the employer specifies what to wear, follow that.
3 ways to get your photo ready
There are three main ways to prepare photo data. Each differs in convenience and quality.
| Method | Advantages | Things to watch for |
|---|---|---|
| Take it with your phone | Quick to do at home. You can retake as many times as you like | You have to sort out the background, lighting and cropping yourself |
| Use an ID photo booth | Takes little time. Some machines also give you the data | Some machines can't provide data. The number of retakes is limited |
| Go to a photo studio | They handle everything from shooting to retouching and size adjustment | Takes time to book and travel |
Opinions differ on which method is best
One view is that "a phone is enough for online submissions." Online resumes are mostly viewed on a screen, and a phone photo works fine as long as it meets the requirements.
The other view is that "for an important application, go to a studio." Lighting and expression are adjusted for you, so the result is more consistent.
It's best to choose based on how many places you're applying to and how much time you can spend. Some people use a phone for part-time jobs and a studio for their top-choice job hunt or career change.
Tips for taking a good photo with your phone
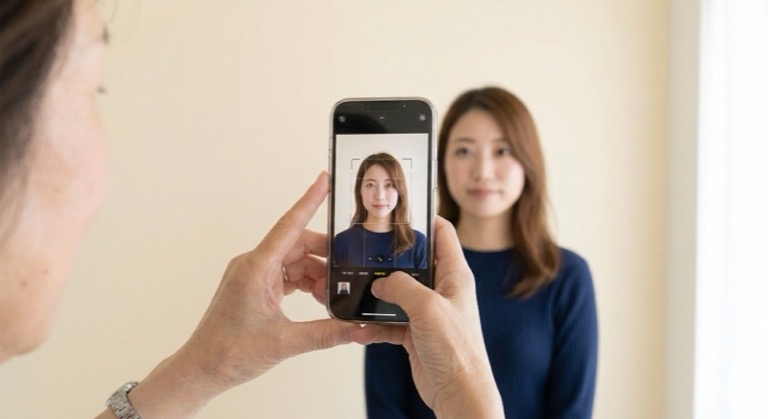
When using a phone, have a family member or friend take the photo instead of taking a selfie, and it will turn out better. Selfies tend to distort your face, and your arm can end up in the frame.
- Stand in front of a white wall (standing a little away from the wall makes shadows less likely)
- Choose a spot in the daytime where window light hits your face from the front
- Hold the phone at eye level, stand a little back and use the zoom
- Straighten your back and tuck your chin in slightly
- Take several shots and pick the best one
After shooting, crop to 4:3 (height:width)
A phone photo won't have the right aspect ratio as it is. Use your phone's editing function or a photo app to crop it to 4:3 (height:width).
Leave a little space above your head and adjust so the frame reaches down to your chest. Also check that your face is in the center.
How to insert your photo (Word, Excel, PDF and application sites)
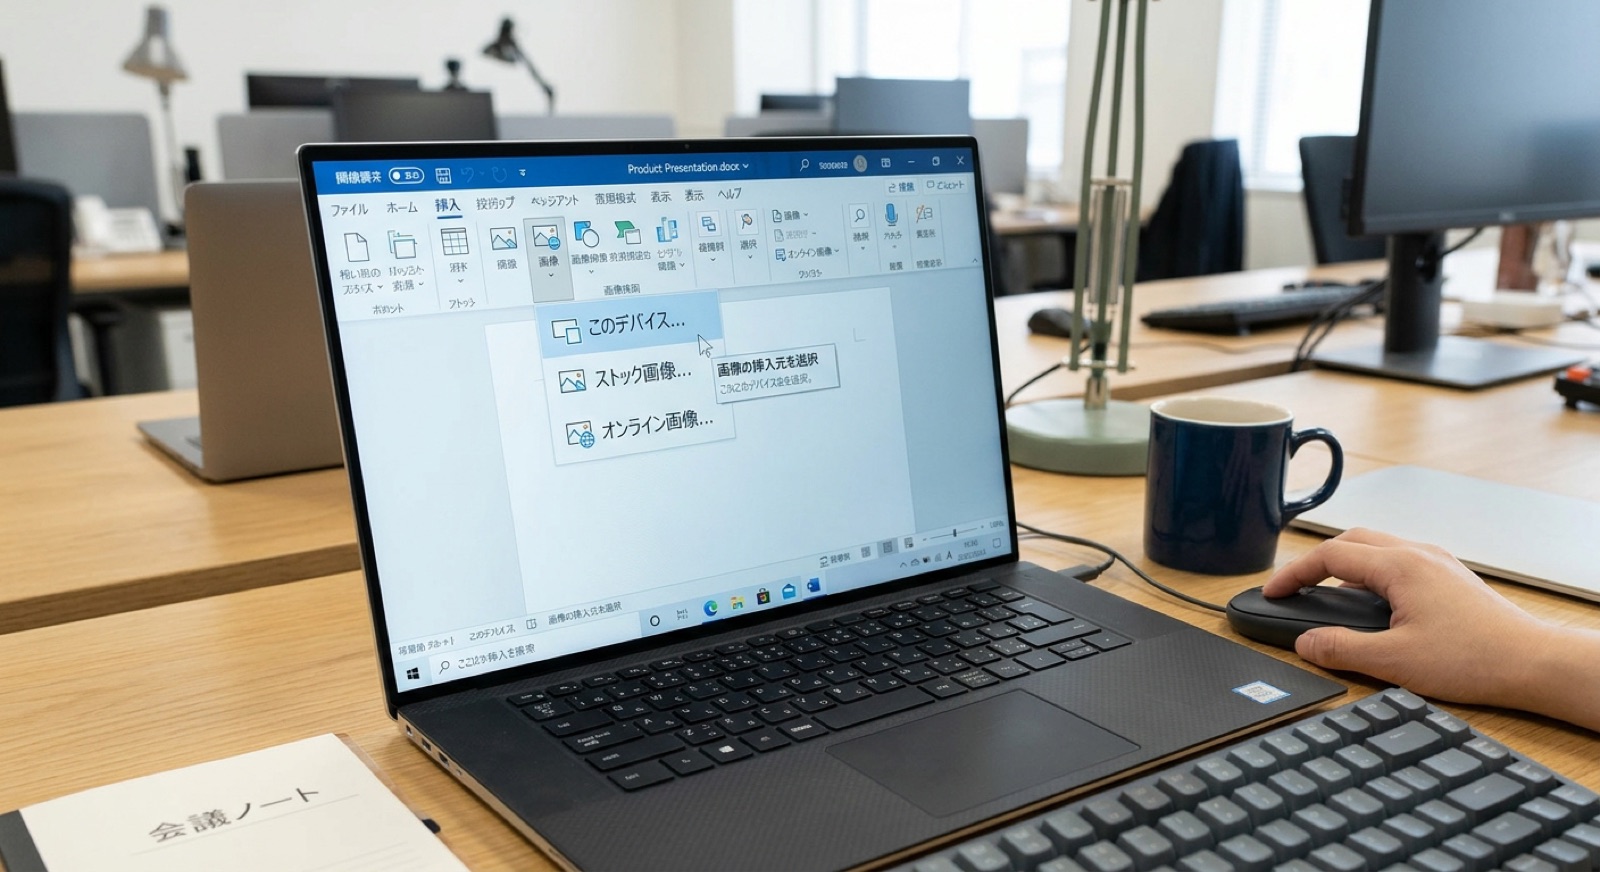
How you insert the photo depends on how you submit your resume. Here are the four most common cases in order.
Insert into a Word resume
Click the photo space, then choose "Insert" → "Pictures" → "This Device" and select your photo. Next, right-click the photo, open "Format Picture" and set the size to 40 mm tall and 30 mm wide.
If the photo keeps moving, set "Wrap Text" to "In Front of Text" and you can place it wherever you like. If you change the size with the aspect ratio locked, your face won't look stretched.
Insert into an Excel resume
In Excel too, add the photo from "Insert" → "Pictures". After inserting it, adjust the size to fit the frame of the photo space.
Changing row heights or column widths can shift the photo. Check the whole page one last time before saving.
Submit as a PDF
Placing a photo directly into a PDF requires dedicated editing software. For that reason, the easy way is to insert the photo in Word or Excel, then save the file as a PDF.
In Word, use "Save As" and set the file type to "PDF". Open the saved PDF and check that the photo displays clearly.
Upload to an application site
On job-hunting and career-change sites, you choose an image from the photo registration field and upload it. If the site lets you crop, adjust it so your face is in the center.
If you can't upload, check that the file size and file format match the requirements.
Common photo problems and how to fix them
If you run into trouble inserting your photo, use the table below. Most problems can be fixed with a small adjustment.
| Problem | Main cause | How to fix it |
|---|---|---|
| Face looks stretched sideways or vertically | Resized without locking the aspect ratio | Crop the original image to 4:3, then shrink it with the aspect ratio locked |
| Can't upload | File too large, or wrong format | Make the image smaller. Save it again as a JPEG |
| Image looks grainy | A too-small image was enlarged | Use original data of at least 472 px tall × 354 px wide |
| Face is dark | Backlit, or lit only by room lighting | Retake in a spot where window light hits you from the front |
| Objects appear in the background | Taken in the middle of a room | Retake in front of a white wall |
Online resume photo FAQ

Can I submit without a photo?
If the resume has a photo space, the standard is to include a photo. Some employers these days don't ask for one, so check the job posting.
How much editing is OK?
Adjusting brightness or tidying up skin blemishes and stray hair is fine. Avoid edits that change the shape of your face or the size of your eyes, because you will look different when you meet in an interview.
Can I use the same photo as for my paper resume?
If it was taken within the last 3 months, you can use the same photo. If you have the data for a photo taken for a paper resume, you can use it as is for an online resume.
How do I receive the data from a studio?
How you receive it depends on the studio. At 19Studio Shinjuku, a job-hunting photo studio, photo data, retouching and size adjustment come as a set, and you receive the data through LINE (a popular messaging app in Japan) or email.
The studio is a 2-minute walk from Shinjuku-gyoemmae Station, and same-day booking is available. You can check open times on the 19Studio Shinjuku booking page.
Summary: a 4:3 file and the employer's instructions are the key
- Prepare your photo as a JPEG file with a 4:3 (height:width) ratio
- For size and file size, the employer's instructions come first
- If there are none, at least 472 px tall × 354 px wide is a safe choice
- The look rules are the same as for paper: taken within 3 months, facing front, plain background
- Inserting the photo in Word and then saving as a PDF makes PDF submission easy
Whether you use a phone, an ID photo booth or a studio, the photo works as long as it meets the requirements. Choose the method that suits you based on the employer and how much time you have.
- I have conducted hiring interviews at both listed companies and startups. Drawing on my experience reviewing applications and ID photos as an interviewer, I explain what recruiters really look at in your photo and entry sheet.
 Walking distance from Shinjuku Station2 min from Shinjuku-gyoemmae Station19Studio Shinjuku — ID & Job-Hunting PhotosNeed it fast? No problemSame-day booking & same-day pickupCome empty-handed, shoot right awaySuit compositing option availableBook Now
Latest posts
 Job-Hunting ID PhotosNovember 19, 2026Online Resume Photo Guide for Japan: Size, How to Take It & How to Insert It (Phone OK)
 Job-Hunting ID PhotosNovember 18, 2026Resume Photos in Japan: Size, Where to Take Them & How to Attach Them [Basics]
 Job-Hunting ID PhotosNovember 17, 2026Resume Photos for a Job Change in Japan [Size, Attire & Where to Get Them Taken]