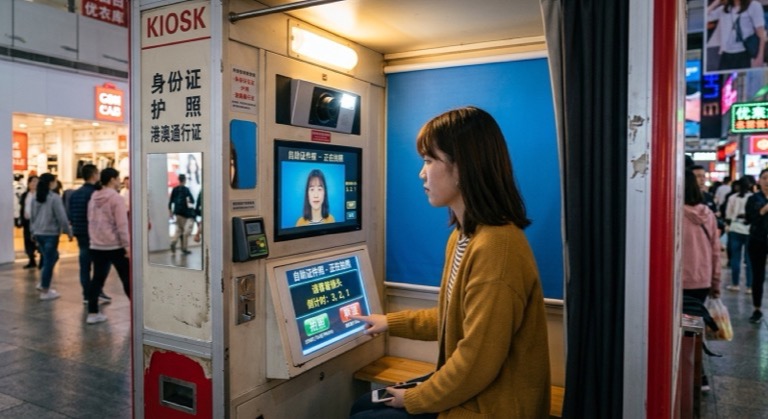
My Number Card Photo Size, Rules and How to Take One (With Examples of What Not to Do)
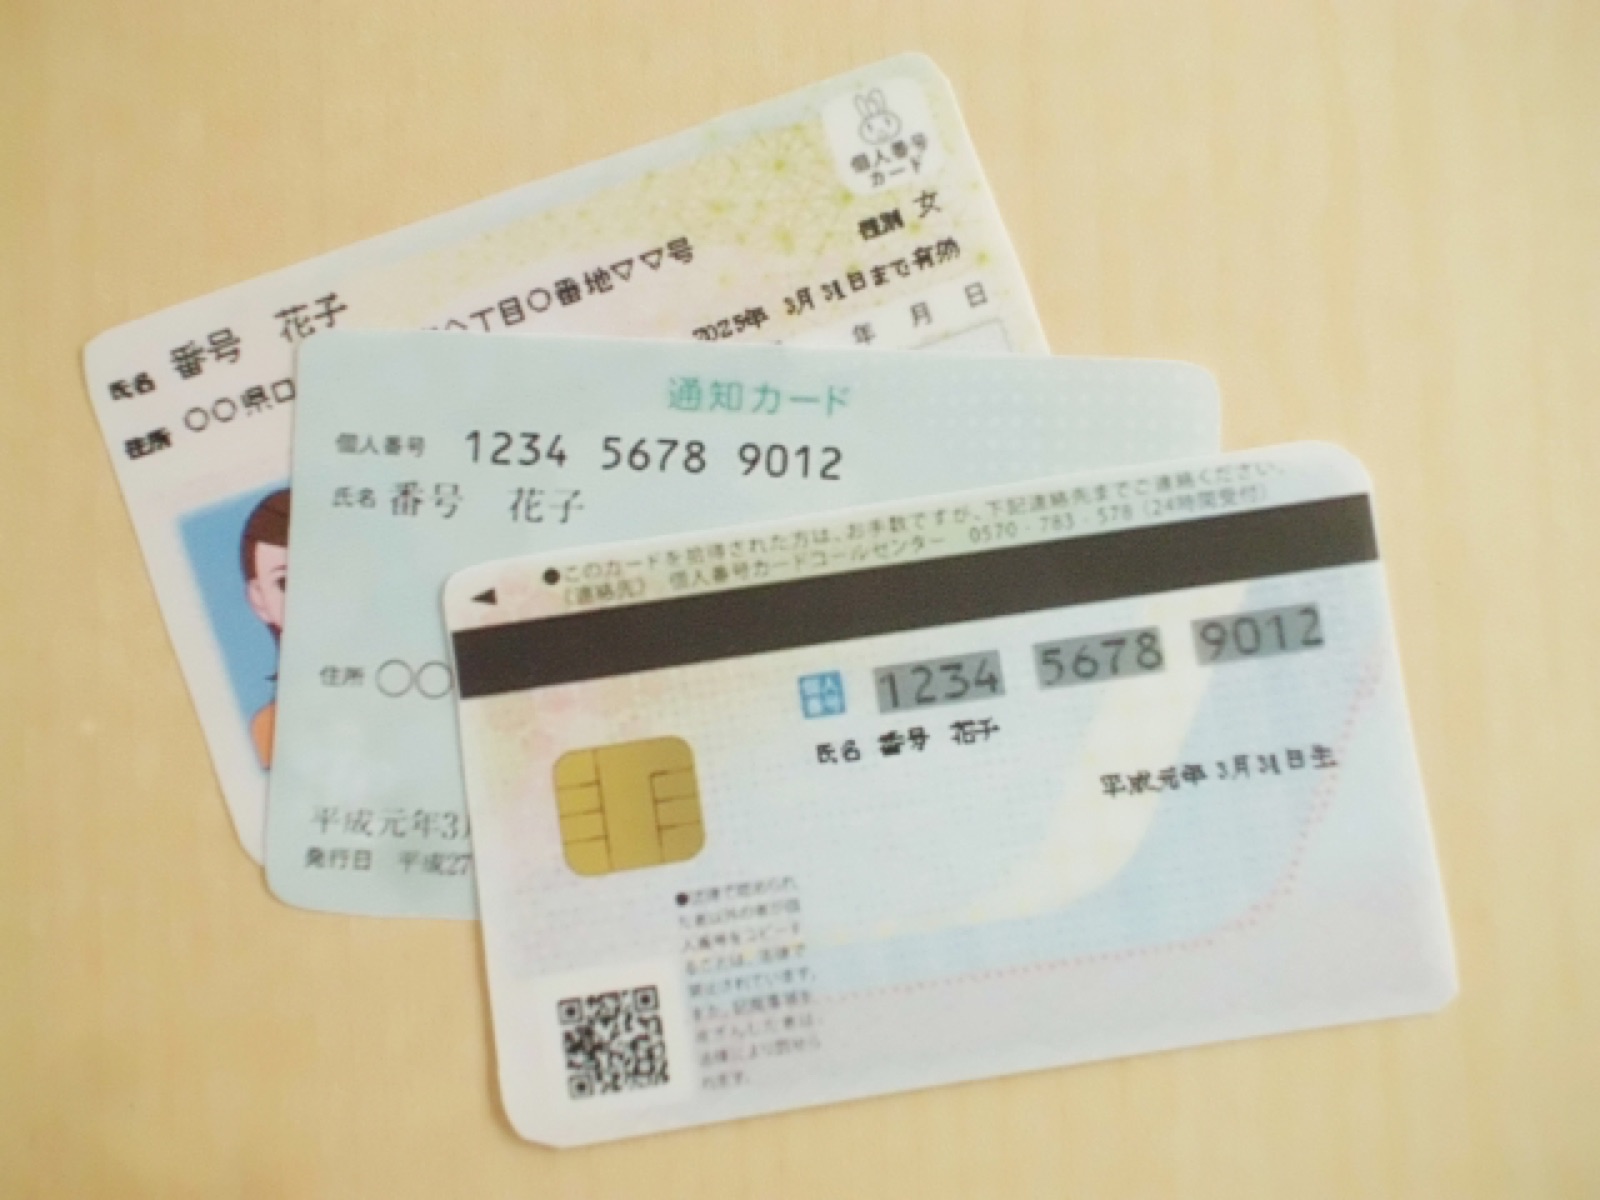
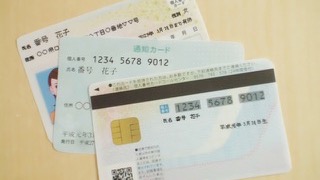
A My Number Card photo must be 4.5 cm tall × 3.5 cm wide, taken within the last 6 months, facing the camera, with no hat and a plain background. (My Number Card is Japan's national ID card, which holds your personal identification number and can be used as photo ID.)
If you apply by smartphone or computer, you upload a photo file (JPEG) instead of a printed photo.
This article sets out the rules, examples of rejected photos, file requirements and shooting tips in easy-to-read tables.
The information is current as of November 2026. Before you apply, please also check the official My Number Card website (in Japanese).
Walking distance from Shinjuku Station2 min from Shinjuku-gyoemmae Station Need it done fast & easy?Same-day booking OKSame-day pickup OK
 Book Now
Contents
- My Number Card photo rules: 4.5 cm × 3.5 cm, taken within 6 months
- Face, hair, clothing and glasses: what to watch for
- Photos that often get rejected, and how to fix them
- Five ways to apply, each with a different way to submit your photo
- Photo file requirements for smartphone and computer applications
- 5 tips for taking the photo yourself with a smartphone
- How to attach your photo for mail or in-person applications
- Photo size differences: passport, driver's license and résumé
- Where to get your photo taken: comparing 3 options
- How many years will you use the photo? Expiry dates and renewal timing
- My Number Card photo FAQ
- Summary | Check the rules before you shoot and you're more likely to pass the first time
My Number Card photo rules: 4.5 cm × 3.5 cm, taken within 6 months
Let's start with the basic rules in a table. The size and the date taken are the same for every application method.
| Item | Rule |
|---|---|
| Size | 4.5 cm tall × 3.5 cm wide (no border) |
| Date taken | Within 6 months before the day you apply |
| Direction | Facing straight toward the camera |
| Headwear | No hat (bare head) |
| Background | Plain, with no shadows or objects |
| Who is in the photo | Only the person applying |
| Back of photo | Write your name and date of birth (when attaching to a paper application form) |
This is the same size as a passport photo.
At a photo booth, choose the "My Number Card" or "Passport" menu and it will print at this size.
Face, hair, clothing and glasses: what to watch for
Even if the size is right, you may be asked to retake the photo because of how you look in it.
What matters most is that your whole face is clearly visible.
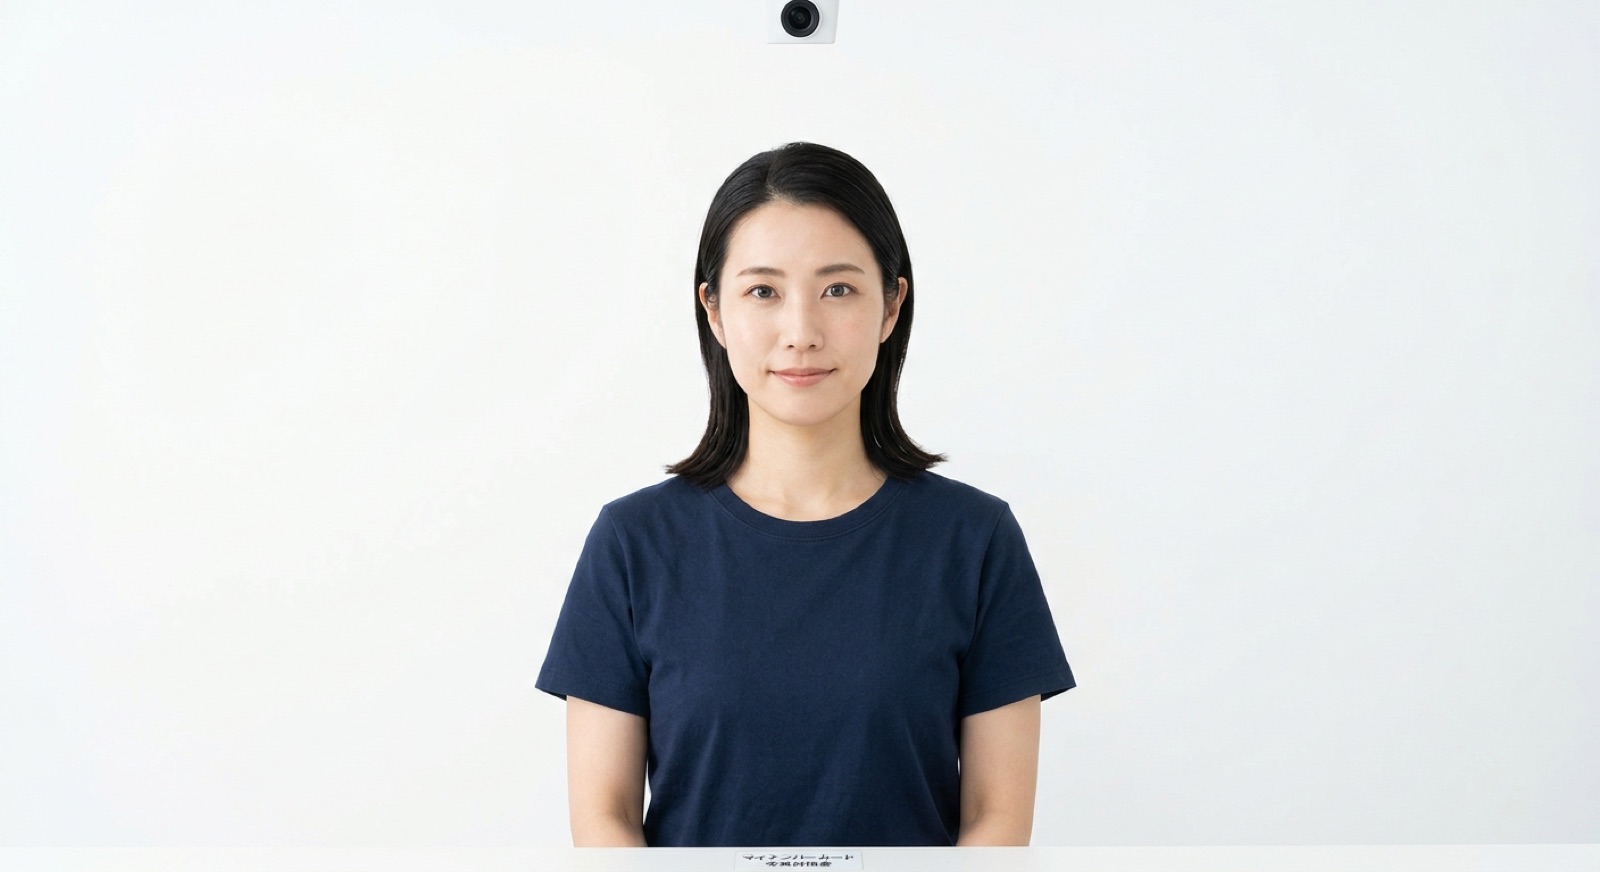
- Face: Shoot from the front, with your face in the center of the photo. Keep your shoulders square to the camera too
- Expression: A natural expression with your mouth closed. Avoid a smile that shows your teeth
- Bangs: Pin them back or sweep them to the side so they don't cover your eyes or eyebrows
- Long hair: Tuck it behind your ears or tie it back so the outline of your face isn't hidden
- Clothing: Everyday clothes are fine. If the background is white or light blue, darker colors such as navy, gray or black define your outline more clearly
- Glasses: You may keep them on. Avoid glare on the lenses and tinted lenses
Take off your face mask for the photo. If you cover your head with cloth for religious or medical reasons, this is accepted as long as the outline of your face is visible.
Your My Number Card will serve as photo ID for a long time. A photo that is easy to compare with your everyday face makes identity checks go smoothly.
Photos that often get rejected, and how to fix them
If your photo doesn't meet the rules, your application may be sent back, or you may be contacted and asked to resubmit.
That adds to the time it takes to receive your card.
Here are common examples and fixes in a table. Run through this list before you shoot to be safe.
| Common problem | Why it's a problem | How to fix it |
|---|---|---|
| Bangs cover the eyes | The eyes can't be checked | Pin your bangs back or sweep them to the side |
| Glare on glasses | The eyes are hard to see | Tilt your chin down slightly or change the position of the light |
| Shadows on the face | The shape of the face is unclear | Face the window so the light hits you from the front |
| Furniture, patterns or a person's shadow in the background | The background isn't plain | Shoot in front of a bare wall |
| Face turned sideways or looking down | It isn't a front-facing photo | Look straight into the camera lens |
| Face too small, or head or chin cut off | The face size is wrong | Leave a little space around your face when shooting |
| Out of focus or blurred by camera shake | The face isn't clear | Take several shots and pick the best one |
| Skin, eyes or face outline edited with an app | Hard to confirm it's you | Shoot without using any retouching app |
| Photo taken more than 6 months ago | Doesn't meet the date requirement | Take a new photo |
Five ways to apply, each with a different way to submit your photo
Depending on how you apply, you submit your photo either as a file or as a printed photo. Choose the method that suits you.
| Application method | How to submit the photo | Best for |
|---|---|---|
| Smartphone | Upload a photo file | People who want to apply quickly and easily right now |
| Computer | Upload a photo file | People who already have a file taken at a studio or with a camera |
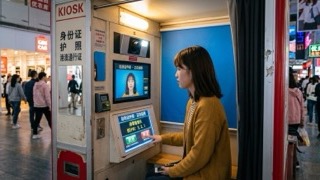
| ID photo booth | Take the photo on the spot and send it (compatible booths only) | People who want to take the photo and apply in one go |
| Attach a printed photo to the application form | People who aren't comfortable with online procedures | |
| City, ward or town office counter | Bring a printed photo (some municipalities will take it for you) | People who want to ask questions at the counter as they go |
To apply at an ID photo booth, you scan the QR code on your card application form. Be sure to bring the form with you.
Whether a free photo service is offered at the counter depends on the municipality. Please check the website of your city, ward or town office.
Photo file requirements for smartphone and computer applications
When you apply online, your photo file must meet the following requirements.
A photo taken with a smartphone camera can usually be used as it is.
| Item | Requirement |
|---|---|
| File format | JPEG (.jpg, a format commonly used for photos) |
| Image size | 480–6,000 pixels for both width and height |
| File size | 20 KB–7 MB |
| Date taken | Within 6 months |
Pixels are the tiny dots that make up an image.
Photos edited in an app, or saved at reduced quality, may fall outside these requirements, so use the original photo.
If your iPhone saves photos in the "HEIC" format, convert the photo to JPEG before uploading.
On the upload screen, you crop the photo to fit your face position.
Preparing a photo with a little space around your face makes it easier to crop neatly.
5 tips for taking the photo yourself with a smartphone
With a little care, you can take a photo that meets the rules even on a smartphone.
We recommend having a family member or friend take it for you rather than taking a selfie.
- Stand in front of a plain, whitish wall
If you stand about 30 cm away from the wall, shadows are less likely to fall behind you. - Face a window
Natural daylight hitting you from the front makes your face look bright. - Hold the camera at eye level
Shooting from below makes your chin look large. - Shoot from about 1–1.5 m away
If the camera is too close, your face looks distorted. Shoot from a little farther away and crop afterward. - Avoid front-camera selfies
Selfies taken at arm's length tend to make your face look tilted.
After shooting, check that your eyes are open and the photo isn't blurred.
Please don't apply any edits, such as smoothing your skin or slimming your face outline.
For babies and small children, you can also lay them on their back on a white sheet and shoot from directly above.
How to attach your photo for mail or in-person applications
When you apply by mail or at the counter, you attach a printed photo to the card application form.
Before attaching it, write your name and date of birth on the back of the photo so you're covered if it comes off.
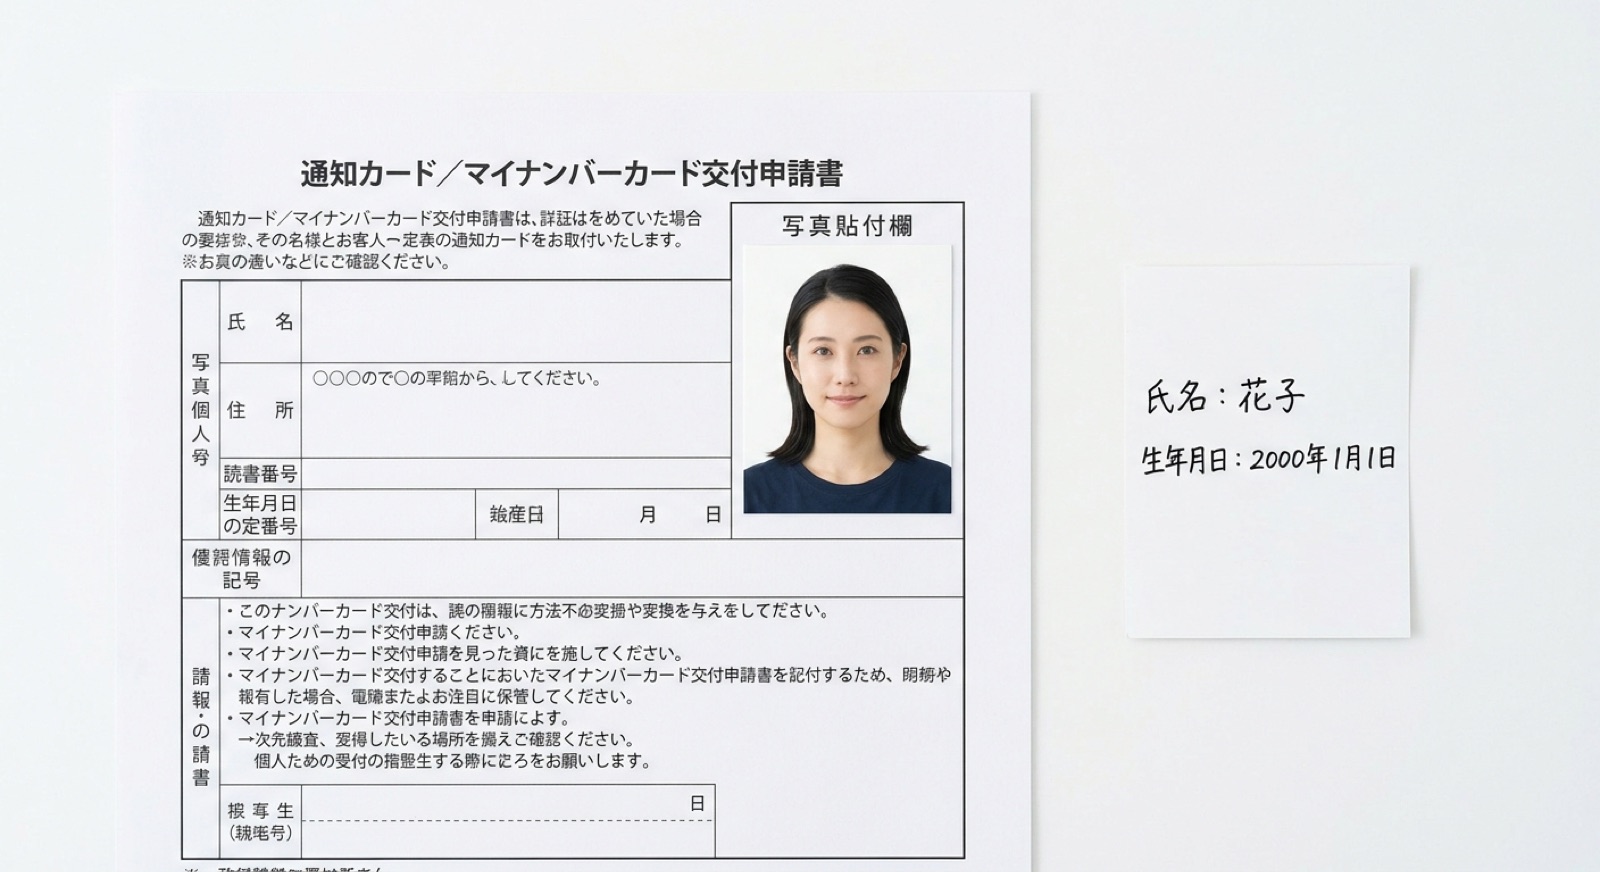
- Cut the photo to fit the photo box on the application form
- Attach it firmly with glue or tape
- Don't fold the photo or leave fingerprints on the face
- When writing on the back, press lightly so the marks don't show through on the front
Photo size differences: passport, driver's license and résumé
ID photo sizes differ depending on where you'll use them. My Number Card and passport photos are the same size, but the passport has more detailed rules about face size.
| Use | Photo size (height × width) | Note |
|---|---|---|
| My Number Card | 4.5 cm × 3.5 cm | A file is fine for online applications |
| Passport | 4.5 cm × 3.5 cm | Has detailed rules, such as the vertical length of the face |
| Driver's license | 3.0 cm × 2.4 cm | For renewals, the photo is often taken at the venue |
| Résumé (rirekisho) | 4.0 cm × 3.0 cm | Requirements may differ depending on the company |
A photo taken to meet passport rules is also easy to use for My Number Card. If both applications fall around the same time, preparing the photos together saves effort.
Where to get your photo taken: comparing 3 options
There are three main ways to get a photo. Choose depending on whether you value convenience or the quality of the result more.
| Where to shoot | Advantages | Things to keep in mind |
|---|---|---|
| Yourself, with a smartphone | Free, and you can retake as many times as you like | You have to sort out the lighting, background and face angle yourself |
| ID photo booth at a station, etc. | Done in a few minutes. With a compatible booth, you can apply right there | The number of retakes is limited |
| Photo studio | A professional adjusts the lighting and your posture. You also receive the photo data | Takes time for booking and travel |
A studio is a good fit if shadows and angles never come out right when you shoot yourself, or if you want both a file for the online application and a printed photo. It's also convenient if you want to take your passport or job-hunting photos on the same day.
At 19Studio Shinjuku, a job-hunting photo studio, we also take ID photos for My Number Card, passports and more. A session takes as little as about 30 minutes, and you receive the photo data by LINE or email, so you can use it right away for a smartphone application.
We're a 2-minute walk from Shinjuku-gyoenmae Station on the Tokyo Metro Marunouchi Line, and same-day booking is available. You can check open time slots on the 19Studio booking page.
How many years will you use the photo? Expiry dates and renewal timing
The photo on your My Number Card stays in use until the card expires. For people aged 18 or over, the card is valid until the 10th birthday after issue.
For people under 18, whose faces change more quickly, it is valid until the 5th birthday after issue. When you renew the card, you'll need a newly taken photo.
Also, the electronic certificate stored in the card comes up for renewal on the 5th birthday. If you are only renewing the electronic certificate, you don't need to retake your photo.
My Number Card photo FAQ

Can I reuse a job-hunting or passport photo?
Yes, if it was taken within the last 6 months and meets the 4.5 cm × 3.5 cm rule. Passport photos are the same size, so they can be used as long as they meet the conditions.
Résumé photos are often 4 cm × 3 cm, so they can't be used as they are. Be sure to check the date it was taken as well.
Can I smile in the photo?
Avoid a smile that shows your teeth. We recommend a natural expression with your mouth closed. Just lifting the corners of your mouth slightly gives a softer impression.
Can I replace the photo after I've applied?
If you have to resubmit a photo after applying, you'll receive your card later. Before you apply, look through the table of rejected examples in this article once more.
Summary | Check the rules before you shoot and you're more likely to pass the first time
Here are the key points for a My Number Card photo.
- The size is 4.5 cm tall × 3.5 cm wide, taken within the last 6 months
- Face the camera, with no hat and a plain background, so your eyes and face outline are clearly visible
- For smartphone and computer applications, use a JPEG file of 480–6,000 pixels and 20 KB–7 MB
- If you shoot with a smartphone, stand in front of a plain wall and have someone take it from eye level
- If you're 18 or over, you'll use this photo for 10 years, so apply with one you're happy with
If you check the rules before shooting, you can save yourself the trouble of retaking the photo. Choose the shooting method and application method that suit you, and get through the process smoothly.
- I love writing and I'm currently studying copywriting. I turn the questions our guests often ask and the things I notice in the studio into easy-to-read articles about job-hunting and ID photos, so that even first-timers can understand them.
 Walking distance from Shinjuku Station2 min from Shinjuku-gyoemmae Station19Studio Shinjuku — ID & Job-Hunting PhotosNeed it fast? No problemSame-day booking & same-day pickupCome empty-handed, shoot right awaySuit compositing option availableBook Now
Latest posts
 Passport, Visa & Other ID PhotosNovember 18, 2026My Number Card Photo Size, Rules and How to Take One (With Examples of What Not to Do)
 Passport, Visa & Other ID PhotosNovember 17, 2026Where to Get a Passport Photo in Japan: 4 Ways Compared, Plus Photo Requirements
 Job-Hunting ID PhotosNovember 13, 2026How to Choose an ID Photo Studio in Japan and What to Expect [For Job Hunting & Career Changes]