4 Simple Tips to Take Your Job-Hunting ID Photo to the Next Level
Let's aim for an ID photo that looks a cut above the rest!
This is the photo you'll send to many different companies during your job hunt in Japan, so you'll want one you can show with confidence.
Keeping just four points in mind can make your photo show off your best qualities even more.
Give them a try!
Contents
- Points to keep in mind when having your ID photo taken
1. Your navel area (tanden)
2. Your pelvis
3. Your shoulders
4. Your expression - Summary
Point 1 for Your ID Photo: Your Navel Area (Tanden)
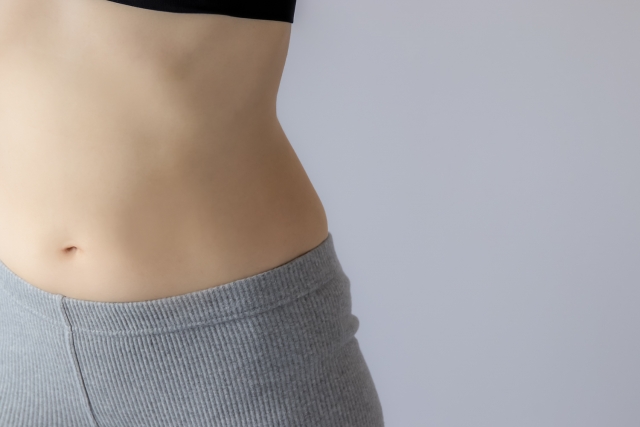
The tanden is a pressure point about 4–5 cm below your navel, roughly three to four finger-widths down. It is known as the body's energy center in Japanese and other East Asian traditions.
Whether you're standing or sitting, engaging this area gives you a stable center of gravity and steadier posture.
It helps you hold good posture naturally.
It also keeps you from puffing out your chest too much or arching your lower back.
Point 2 for Your ID Photo: Your Pelvis
You may be wondering, what does it mean to "sit up straight on your pelvis"?
Imagine a string pulling you up from the ceiling, then tuck your chin in slightly and lengthen your spine. Your pelvis will naturally come into an upright position.
To check whether you're sitting with your pelvis upright, see if your left and right sitting bones (the bony points you feel when sitting) press on the seat with about the same weight. If the weight leans to one side, or your sitting bones aren't touching the seat at all, your posture isn't ideal yet.
Sitting this way can also help prevent lower back pain and lower-body weight gain, so try keeping it in mind in daily life too!
Point 3 for Your ID Photo: Your Shoulders
When you're nervous, your shoulders may tense up and rise without you noticing.
If that happens, try a quick stretch while seated.
Raise your shoulders on purpose, then let them drop all at once.
Breathing out as you release helps you relax even more.
Repeat this a few times and you'll go into the shoot relaxed and without tension.
Your shoulders are hard to check with your own eyes.
This stretch relieves tension, but making both shoulders exactly level is difficult.
At a studio shoot, our staff will gently let you know when adjustments are needed.
Minor differences can also be corrected with retouching, so please feel free to ask us if it bothers you.
Point 4 for Your ID Photo: Your Expression
Last is your expression. The key is to lift the corners of your mouth without showing your teeth.
This subtle smile is harder than it sounds!
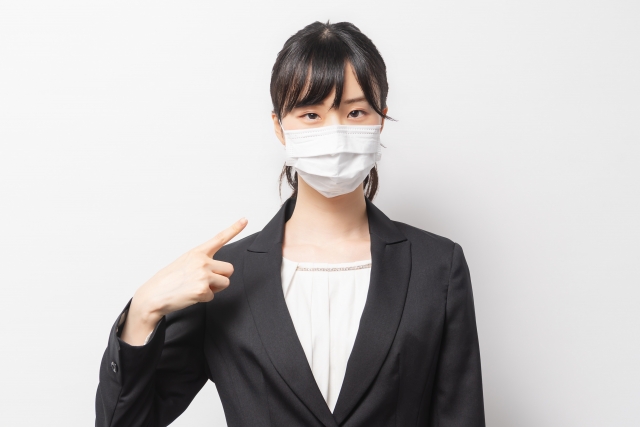
Before your shoot, try a face stretch discreetly behind your mask.
It's called the "oo-ee exercise" (ui-ui taisō in Japanese).
Just move your mouth back and forth between an "oo" shape and an "ee" shape!
It's an easy stretch that helps you practice a natural smile and can even give your face a slimmer look.
It's also practiced at talent agencies with many well-known actresses and at announcer schools.
Even doing it right before the shoot loosens your facial muscles and makes it easier to smile. You can also practice a little at a time, from the day you book until the day of your shoot.
Summary
In this article, we introduced four points to take your ID photo to the next level.
At 19 Studio, we share stretches like these and tips to keep in mind during your shoot.
We'll do everything we can to support job seekers so that a better ID photo helps you feel confident!

- I love writing and I'm currently studying copywriting. I turn the questions our guests often ask and the things I notice in the studio into easy-to-read articles about job-hunting and ID photos, so that even first-timers can understand them.
Latest posts
 Job-Hunting ID PhotosOctober 28, 2026【Job Hunting on a Budget】How to Get High-Quality ID Photos Affordably
 Hair, Makeup & OutfitsOctober 26, 2026Can I Take a Job Hunting Photo with My Top Button Open?
 Job-Hunting TipsOctober 26, 2026[Winter Hiring / Job Hunting Start] What Are Smart Cold Weather Countermeasures for Winter Job Hunting?