【Where to Take Your Residence Card Photo?】Comparing Smartphones, Photo Booths, and Photo Studios
 スタッフA
スタッフA
When applying for or renewing a Residence Card, an essential requirement is the "ID photo."
"Can I just take it myself with my smartphone?"
"Is a photo booth good enough?"
"What are the advantages of taking it at a photo studio?"
If you're asking yourself these questions, you are not alone—many people wonder where they should get their Residence Card photo taken.
Photos submitted for Residence Card applications must meet specific standards regarding size, time of shooting, and facial framing. The Immigration Services Agency of Japan notes that if a photo does not meet these standards, you may be asked to retake it.
Therefore, in this article, we will compare three common methods for getting a Residence Card photo: "Smartphone," "Photo Booth," and "Photo Studio." We will explain the pros, cons, and who each option is best suited for.
*Residence Card photo regulations are subject to change. Please be sure to check the latest information on the official Immigration Services Agency website before submitting your application.
Table of Contents
- Where Can You Take a Photo for Your Residence Card?
- Taking a Residence Card Photo with a Smartphone
- Taking a Residence Card Photo at a Photo Booth
- Taking a Residence Card Photo at a Photo Studio
- Comparing Smartphones, Photo Booths, and Photo Studios
- Summary | Choose the Right Method for Your Residence Card Photo
Where Can You Take a Photo for Your Residence Card?
here are three main ways to prepare a photo for your Residence Card application or renewal:
- Take it yourself with a smartphone
- Take it at a photo booth
- Take it at a photo studio
No matter which method you choose, what ultimately matters is meeting the required application standards.
Click here for detailed regulations! ↓
【Must-See for International Students】: Is Your Residence Card Renewal Ready? Photo Tips to Prevent Application Troubles
Recently at 19Studio, we have seen an increase in customers coming in for Residence Card photo shoots.Many international students have Residence Cards that exp…
 19Studio Shinjuku - Professional headshot and ID Photos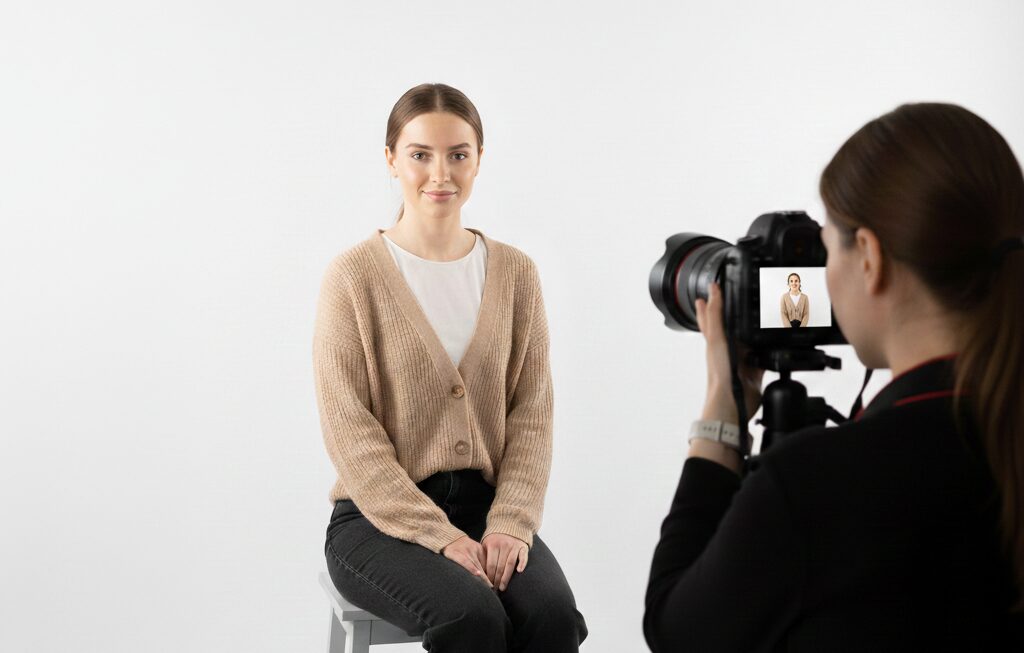
ccording to the basic photo requirements guided by the Immigration Services Agency, the photo must be 4 cm high × 3 cm wide, feature only the applicant, face directly forward, have no shadows in the background, be clear and sharp, and be taken within 6 months prior to the application date.
Therefore, "whether you can prepare a photo that satisfies the standards" is far more important than "where you take it.
" So, what are the key differences between each method?
Taking a Residence Card Photo with a Smartphone

The most convenient option is taking the photo yourself using a smartphone.
With recent smartphone cameras offering high performance and allowing you to adjust images yourself, this is a handy option for those who want to prepare a photo without spending money.
Pros of Smartphone Photography
The biggest advantage of using a smartphone is convenience.
You can take the photo at home, eliminating the need to search for a photo studio or photo booth. Additionally, you can retake the picture as many times as you like until you are satisfied with the result.
Cons of Smartphone Photography
On the other hand, caution is required when using a smartphone photo for a Residence Card.
The following aspects can be particularly challenging:
- Properly adjusting the face position and size
- Facing straight ahead
- Setting up a proper background
- Preventing shadows on the face
- Taking a clear, high-quality picture
- Accurately resizing the image
While "taking a photo" itself is easy, "finishing it into an ID photo suitable for application" is surprisingly difficult.
Even if you ask a family member or friend to take it for you, slight variations in camera position or lighting can change the framing, which may require numerous retakes.
Taking a Residence Card Photo at a Photo Booth

Another method is to use automated photo booths commonly found at train stations and shopping centers.
Because photo booths are equipped with proper lighting and backgrounds tailored for ID photos, they offer an easier way to achieve consistent quality compared to taking a photo on your own.
Pros of Photo Booths
A major advantage of photo booths is speed. No reservation is required; if you find one nearby, you can take your photo on the spot.
Furthermore, since they are designed specifically for ID photos, it is easier to set up a suitable shooting environment than with a smartphone. It is a convenient choice for those who want to keep costs down and get a photo taken quickly nearby.
Cons of Photo Booths
However, the number of retakes and the time available are limited. During the session, even if you notice issues like:
"My face was slightly tilted," "My hair was covering my eyes," or "My expression was stiffer than expected,"
you won't receive detailed advice from a staff member as you would in a studio setting.
Also, if you look at the photo afterward and think, "I want to adjust my face positioning a bit more," you have to make that judgment entirely on your own.
Taking a Residence Card Photo at a Photo Studio
The third option is having a professional take your photo at a studio.
At a photo studio, staff members use professional cameras and lighting while checking your posture and facial alignment throughout the process.
Pros of Photo Studios
The greatest benefit of using a photo studio is that a professional can check details that are hard to verify on your own.
For example, a professional third party can check:
- Whether your face or body is tilted
- Whether your face fits correctly within the frame
- Whether hair is covering your eyes or face
- Whether light is reflecting off your glasses
- Whether there are unwanted shadows on your face
- Whether the photo is crisp and clear
For those who feel uncertain about evaluating whether a photo meets official requirements, having a professional guide you through the process offers great peace of mind.
Cons of Photo Studios
Naturally, it costs more compared to smartphones or photo booths.
Additionally, some studios require reservations. For these reasons, a photo booth may be more suitable if your main goal is to get a picture as cheaply and quickly as possible nearby.
Conversely, because this is an important photo used for an official application, a photo studio is ideal for those who want to avoid having to retake it or who wish to consult with someone while taking the photo.
Comparing Smartphones, Photo Booths, and Photo Studios

Here is a quick summary comparing the features of each method:
| Method | Convenience | Cost | Shooting Support | Adjustments |
| Smartphone | ◎ | ◎ | △ | Done by yourself |
| Photo Booth | ○ | ○ | △ | Depends on machine |
| Photo Studio | ○ | △ | ◎ | Consult with a professional |
Rather than asking "which method is best," it is recommended to choose based on your priorities.
If you want to keep costs as low as possible
A smartphone is a potential option.
However, if you take the photo yourself, you must personally verify the photo standards and final quality.
If you prioritize convenience
A photo booth is a great fit.
If there is one nearby or at a station, you can prepare a photo without spending much time.
If you prioritize photo quality and reassurance
A photo studio is highly recommended.
In particular, first-time applicants, those renewing their Residence Card, or anyone feeling anxious about judging if their self-taken photo meets official standards will find reassurance in shooting at a studio with staff guidance.
Meeting Standards Is More Important Than "Where You Take It"
When thinking about where to take a Residence Card photo, it's easy to wonder, "Is a smartphone, photo booth, or studio the right answer?"
However, what truly matters is not where it was taken, but preparing a photo that fully satisfies the application requirements. The Immigration Services Agency explicitly states that photos failing to meet standards may require a retake.
Therefore, if you feel uneasy—asking yourself "Is this self-taken photo okay?", "Is my face positioned correctly?", or "Are there shadows in the background?"—having a professional review it is a smart approach.
For Residence Card Photo Shooting, Visit 19Studio
At 19Studio located in Shinjuku, we offer photo shooting services for passport and ID photos! Our staff provides guidance on posture and expression from an objective standpoint to ensure you get a shot you are completely satisfied with.
Using specialized lighting techniques, we illuminate your entire face clearly, with professional support ensuring your eyes, ears, and outline are not hidden. Through retouching, background shadows are completely removed for a sharp, clear finish. In addition, face size and positioning are precisely adjusted down to the pixel level to produce a high-quality photo that strictly complies with Residence Card regulations!
Same-day reservations and same-day delivery are available, making our studio ideal for those who need an ID photo urgently!
Summary | Choose the Right Method for Your Residence Card Photo
There are several ways to prepare a Residence Card photo, including smartphones, photo booths, and photo studios.
Smartphones make it easy to minimize costs, while photo booths offer quick and easy shooting.
On the other hand, at a photo studio, staff members help check your posture, facial angle, and lighting as you shoot. If you feel uncertain about checking official photo standards yourself or want to avoid mistakes on an important application photo, why not consider having your photo taken at a professional studio?
Your Residence Card photo is an important piece of your application. Prepare it with confidence using the method that suits you best.
*Residence Card photo standards and application procedures are subject to change. Please be sure to check the latest official information on the Immigration Services Agency website.
最新の投稿
 Concerns about Job HuntingSeptember 30, 2026【Job Hunting Hair】Job Hunting ID Photo Bangs: Swept Side or Straight Across?
- Concerns about Job HuntingSeptember 30, 2026How Should You Choose a "Photo That Best Represents You" for Your Entry Sheet (ES)?
- Concerns about Job HuntingSeptember 16, 2026Should you take job-hunting ID photos in something other than a suit?
- ID photoSeptember 16, 2026【2026 Edition】A Must-See for Students Taking the AO Admissions Exam! Tips for ID Photos That Bring You Closer to Passing