
【Surprisingly Important!】 Things to Watch Out for When Pasting an ID Photo on Your Resume
 スタッフA
スタッフA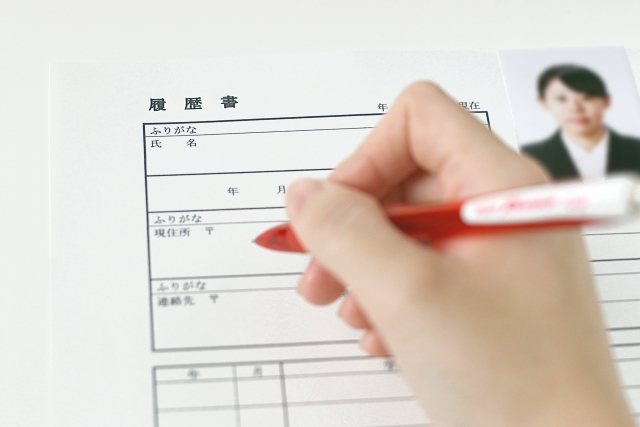
In recent job-seeking activities, more and more companies are adopting WEB entry formats. On the other hand, however, there are still many companies that require the submission of paper resumes.
And an ID photo is strictly required for such resumes. You might be thinking, isn't applying an ID photo just a matter of putting glue on it and sticking it on? In fact, simply paying attention to small details—such as the timing of when you paste it—can help you avoid crisis situations and give you peace of mind.
This time, we have summarized key points to pay attention to when pasting an ID photo!
Table of Contents
Paste the ID Photo Last
It is recommended to fill in all the handwritten parts of the resume first, and paste the ID photo last.
On a typical resume, there is a frame for the ID photo near the top. Other sections near the top are frames for writing basic information such as your name, address, and educational background. Many people likely stick the ID photo on while going through the flow of filling in this basic information. However, the key here is to hold off on pasting the photo.
The statement of purpose and self-PR sections that you fill in after that have a high word count, making them prone to writing mistakes. Beyond simple mistakes, you might also decide to revise the content while writing.
If that happens, you will end up disposing of the ID photo along with the paper.
It is better to avoid peeling it off to reuse it. When peeled off, the photo often gets bent or paper sticks to the back, which tends to ruin its appearance.
To prevent such situations, fill in all the handwritten sections first before applying the ID photo as the finishing touch.
Writing Your University Name and Full Name on the Back of the ID Photo is Recommended◎

Just in case the pasted photo peels off, it is good to write your "University Name" and "Full Name" on the back so that people can tell whose photo it is. Companies sometimes specify to write your name and other details on the back of the ID photo, but even without instructions, it brings more peace of mind to do so. When writing, using an oil-based marker is better. Ballpoint pens or water-based pens may smudge depending on the glue used when pasting.
Using Tape Glue or Double-Sided Tape is Recommended!
When pasting an ID photo onto a resume, using tape glue or double-sided tape is recommended. Applying glue directly to the resume first makes it easy to make mistakes, so make sure to apply the glue to the photo instead.
・Tape Glue
Stick glue can ooze out from behind the photo, causing the surrounding area to look messy. Using liquid glue can cause wrinkles on the resume. Tape glue allows you to apply glue precisely where you want it, making it easier to achieve a clean finish. When using it, apply tape glue across the entire back to prevent it from peeling off easily.
・Double-Sided Tape
Using double-sided tape allows you to paste the ID photo easily and cleanly. If the tape you prepared is too wide, cut and adjust it so it fits within the ID photo; if it is narrow, handle it by increasing the number of strips you apply.
Summary
This time, we introduced things to pay attention to when pasting an ID photo on a resume! Although each of these points is minor, paying attention to these details will allow you to submit your resume with confidence.
Please give them a try!
最新の投稿
 Concerns about Job HuntingSeptember 14, 2026【Where to Start?】Do I need an ID photo for an internship?
 Concerns about Job HuntingSeptember 14, 2026【Latest 2026 Edition】Is This Photo Okay? Retake Standards for Job-Hunting ID Photos & Checklist to Avoid Rejection
- Concerns about Job HuntingSeptember 11, 2026Is Self-Applied Makeup OK for Job Hunting? Points for Making a Good Impression and Tips for Success
- Concerns about Job HuntingSeptember 11, 2026[Master This!] 4 Tie Knot Styles You Can Use for Job Hunting ID Photos